Okay, hear me out, you don’t have to spend hundreds of dollars to make your mom feel like the most special person in the world. I’ve tried those “fancy store” gifts before, and don’t get me wrong, they’re nice… but honestly? The ones that stick with her the most are the gifts that feel personal, thoughtful, and made with intention. The ones that make her tear up like I shared in my post The Mother’s Day Gift That Made My Mom Cry.
That’s exactly what got me thinking about jewelry. I wanted something that looked luxurious, like it came from a boutique, but was actually handmade, meaningful, and totally doable. And here’s the thing, after a few trial-and-error experiments, I’ve learned some simple steps that totally change the game for me. The kind of steps that make your jewelry look expensive even if your budget isn’t.
I’m about to walk you through all of them, and I promise by the end, you’ll have a piece that your mom will not only wear, but show off. And if you’re anything like me, you might even be tempted to keep one for yourself (no judgment, it happens).
So grab a cup of tea, maybe put on a little music, and let me spill all the tricks I’ve learned for making Mother’s Day jewelry that looks like it came straight off a luxury shelf without spending a fortune. Trust me, you’re going to want to read every single step… because I’m not holding anything back.
Step 1: The Secret to Materials That Look Expensive

Here’s the thing no matter how talented you are, if your materials look cheap, your jewelry will too. And trust me, I learned this the hard way after a few bracelets that… let’s just say, did not impress anybody.
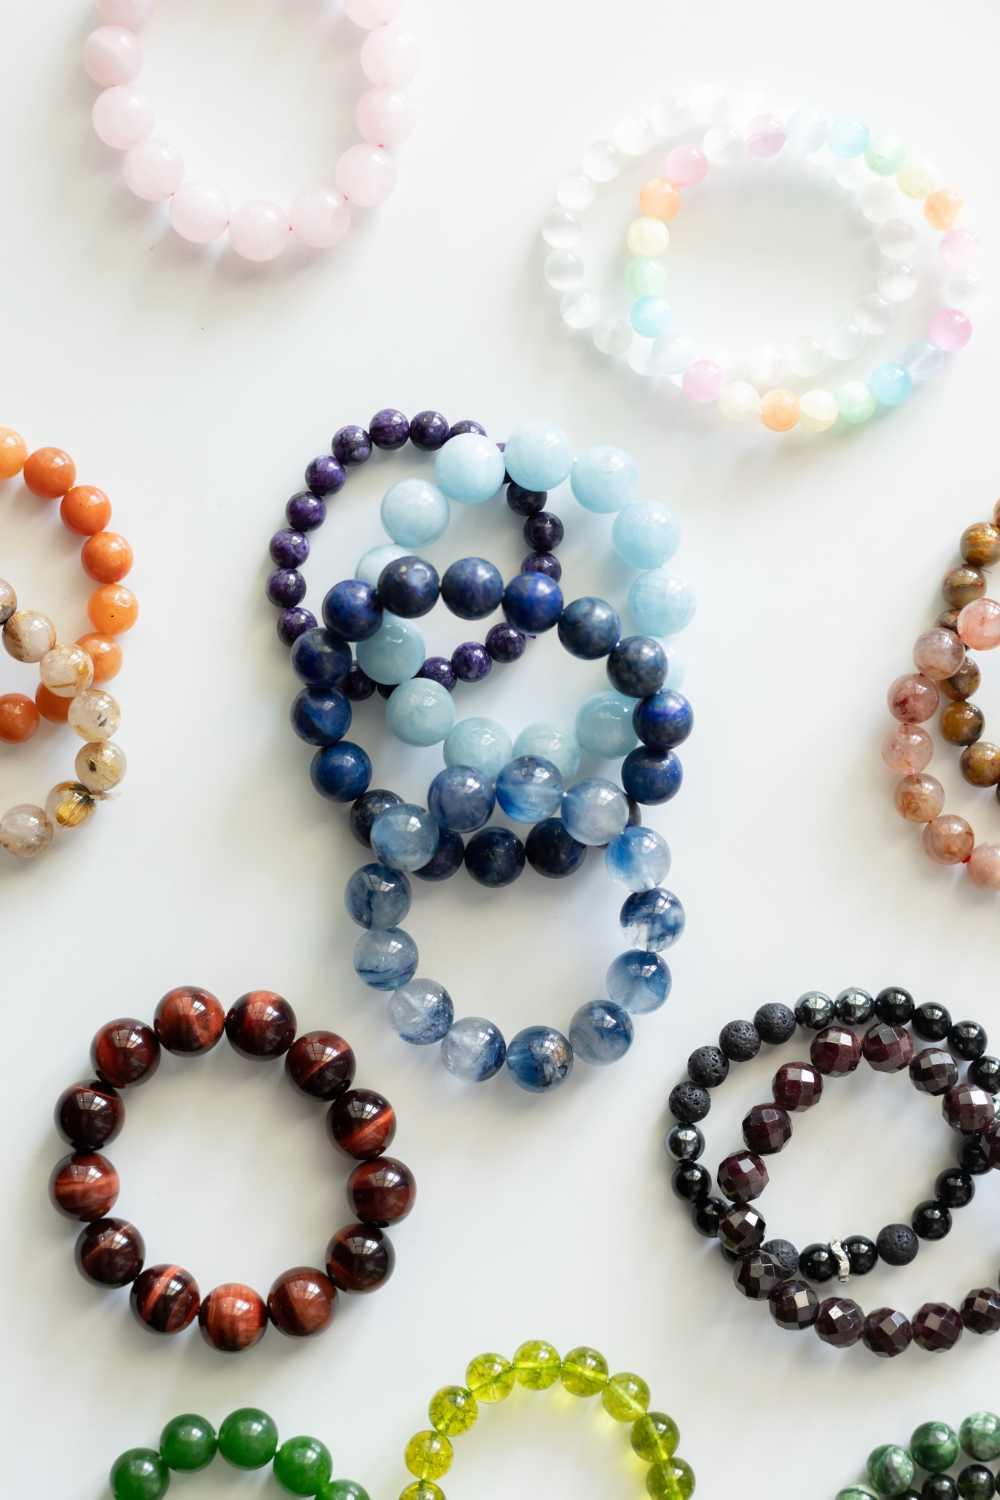
The trick is that you don’t need gold or diamonds. There are a few simple, affordable things you can grab that instantly give your piece a luxe feel. I’m talking about:
- Pearls that shine like real ones : faux pearls can look surprisingly high-end if you pick the right size and finish.
- Crystal beads : even tiny ones make a bracelet or necklace pop.
- Metal accents like gold or silver-plated charms : these little details are everything.
And the secret tip that changed everything for me is layering textures. Mix a pearl with a shiny crystal and a tiny metallic charm… suddenly, your DIY bracelet looks like something you’d find in a boutique.
Save this guide: 27 Fun Mother’s Day Games for Family Gatherings & Brunch
Step 2: Picking a Style That’ll Make Her Heart Melt
Alright, now that you’ve got your fancy-looking materials ready, it’s time for the fun part, deciding what kind of jewelry to actually make. And trust me, this isn’t about what you like (unless you’re secretly her style twin). It’s about what will make her look at your gift and think, “Wow… she really gets me.”
Here’s what I learned: there are a few styles that always look high-end without being complicated:
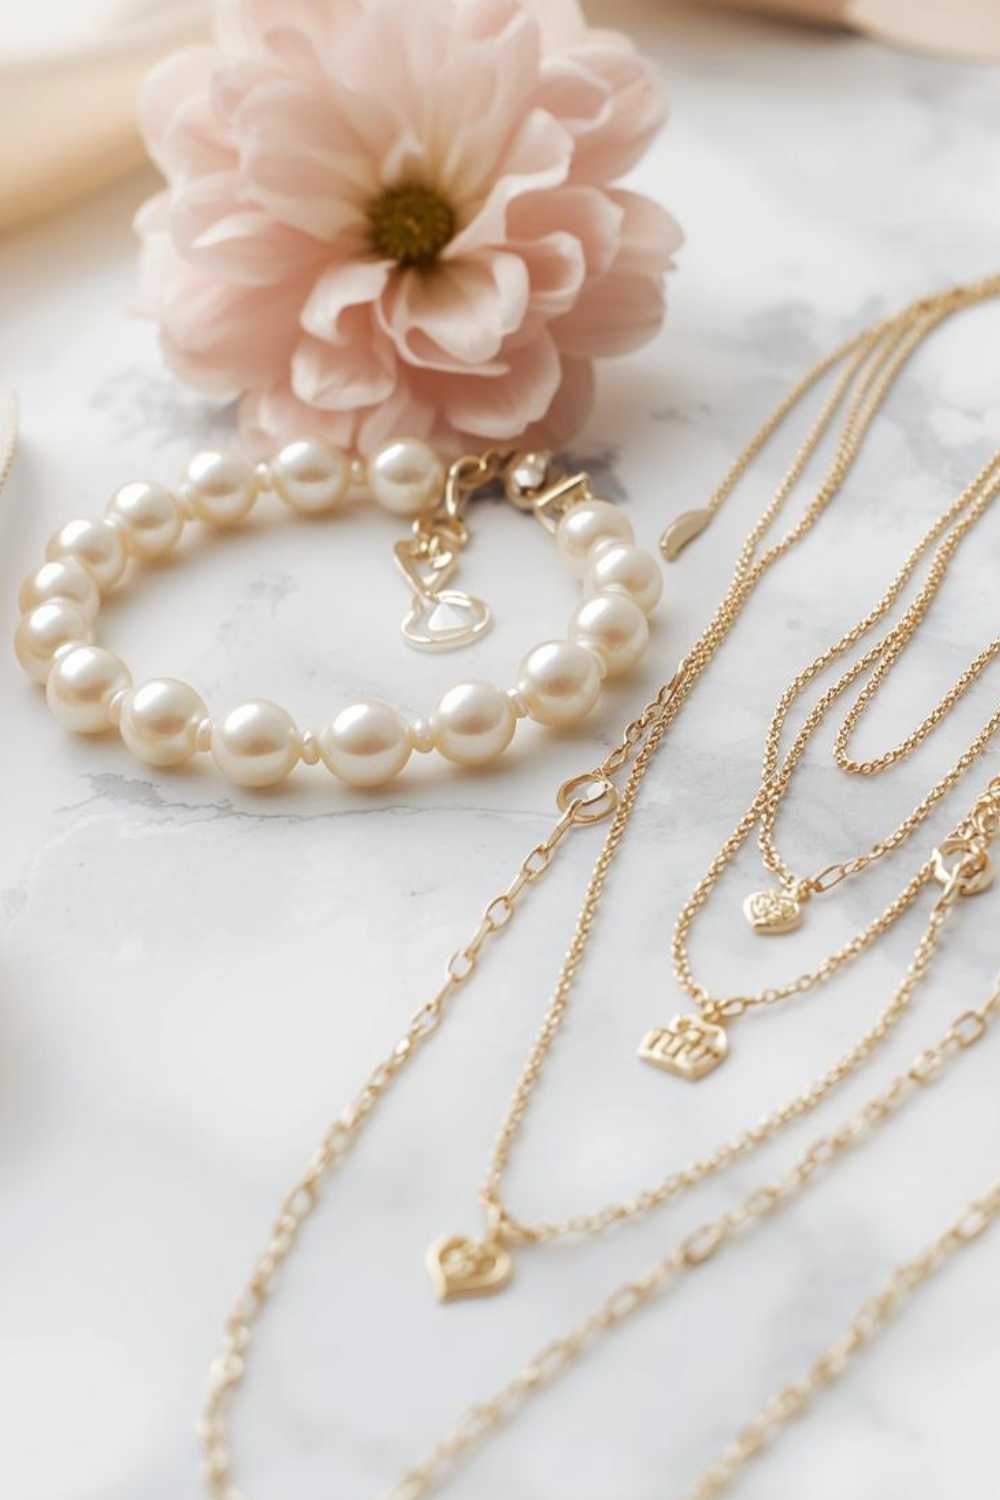
- Delicate & Minimalist : Think of thin chains, small pearls, tiny charms. Sleek, classy, timeless. Perfect if your mom loves subtle jewelry that pairs with everything.
- Classic & Elegant : Pearls, gold tones, or a single statement charm. Feels like it came from a boutique, but way more personal.
- Layered & Fun : Stackable bracelets or necklaces that feel modern and thoughtful. Just make sure to stick to 2–3 colors so it doesn’t look messy.
Here’s the trick that made a difference for me: pick one main feature like a pearl, a charm, or a crystal and let everything else complement it. That tiny detail instantly makes your piece look expensive, even if you only spent a few dollars.
And yes, I know what you’re thinking: “What if she hates it?” My mentor will always tell me not to overthink it and I think she is right. If it’s made with thought, care, and a hint of creativity, she’ll love it. Remember how I talked about gifts that actually make your mom cry happy tears? Check out The Mother’s Day Gift That Made My Mom Cry this is the same idea, just in jewelry form.
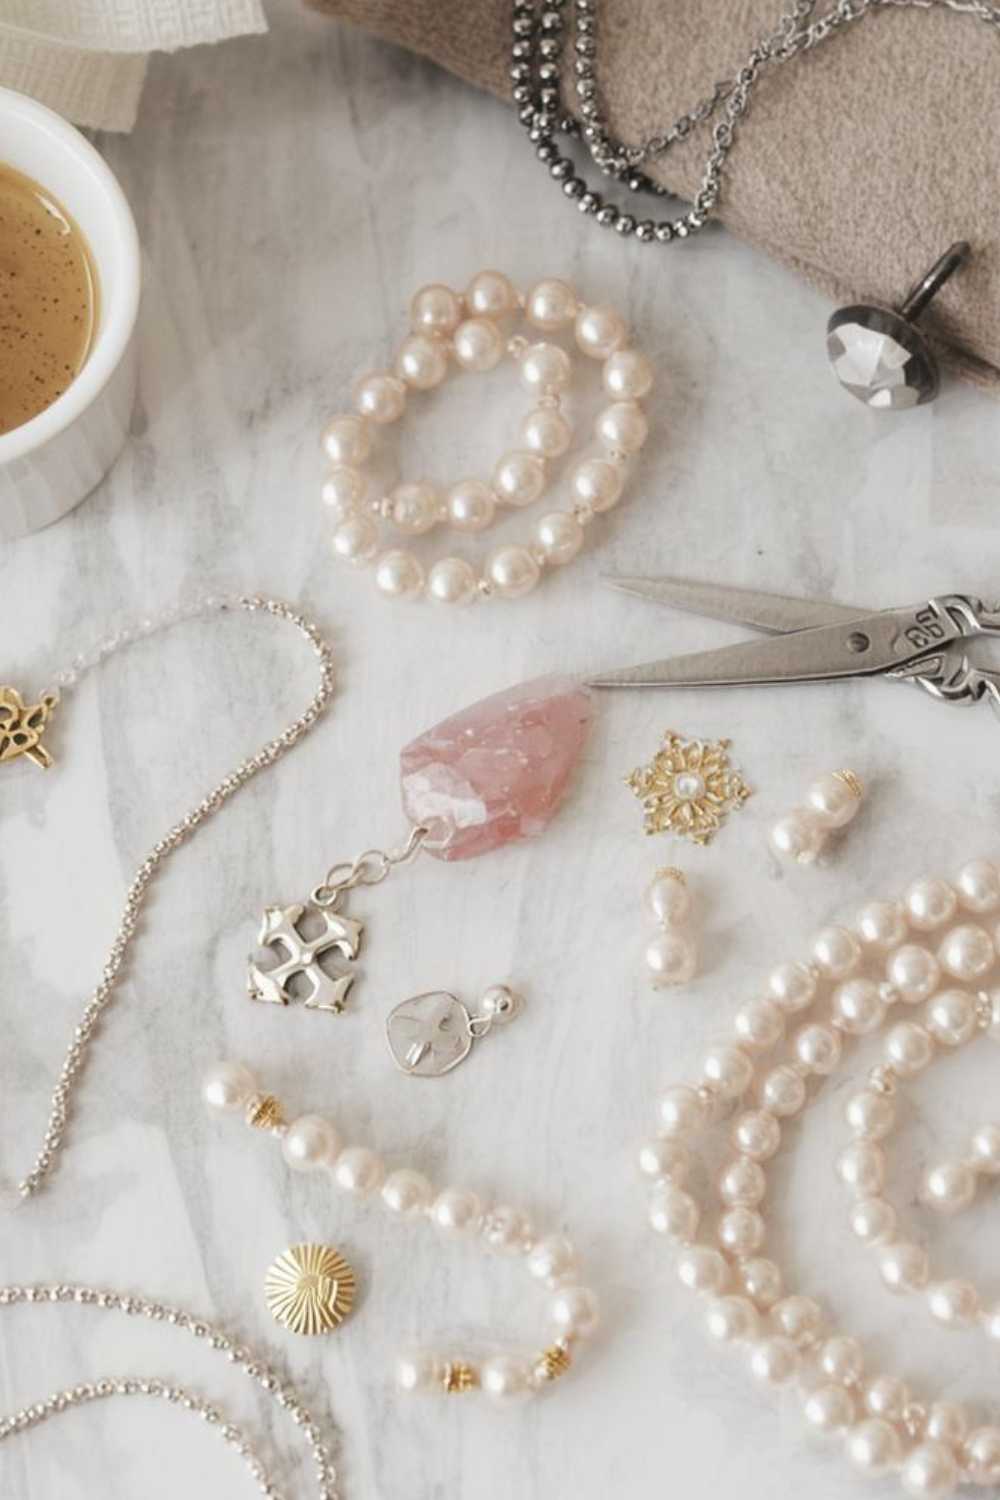
Step 3: Laying Out Your Jewelry and Getting Started

Okay, now the fun really begins. You’ve picked your materials, you know the style your mom will love… now it’s time to actually see your masterpiece come together.
Here’s my little trick: lay everything out before you start stringing or attaching. Seriously, it changes the whole game. When I first tried this, I just grabbed beads randomly and… let’s just say, it looked like a toddler’s craft project. True story.
By laying everything out, you can:
- See if your colors match and balance well
- Make sure the size and length are just right
- Play with textures so your jewelry looks high-end
And here’s a little insider tip: while you’re at it, think about the full gift vibe. Maybe you want to pair your handmade jewelry with a sweet treat, check out my 27 Cute Mother’s Day Dessert Ideas for inspiration.
I promise, this step is more fun than it sounds, it’s basically like decorating your jewelry before the grand finale. Once everything is laid out, you’ll feel like a designer. You’ll literally start imagining your mom opening this gift and her face lighting up and yes, a little “happy tear” moment might happen.
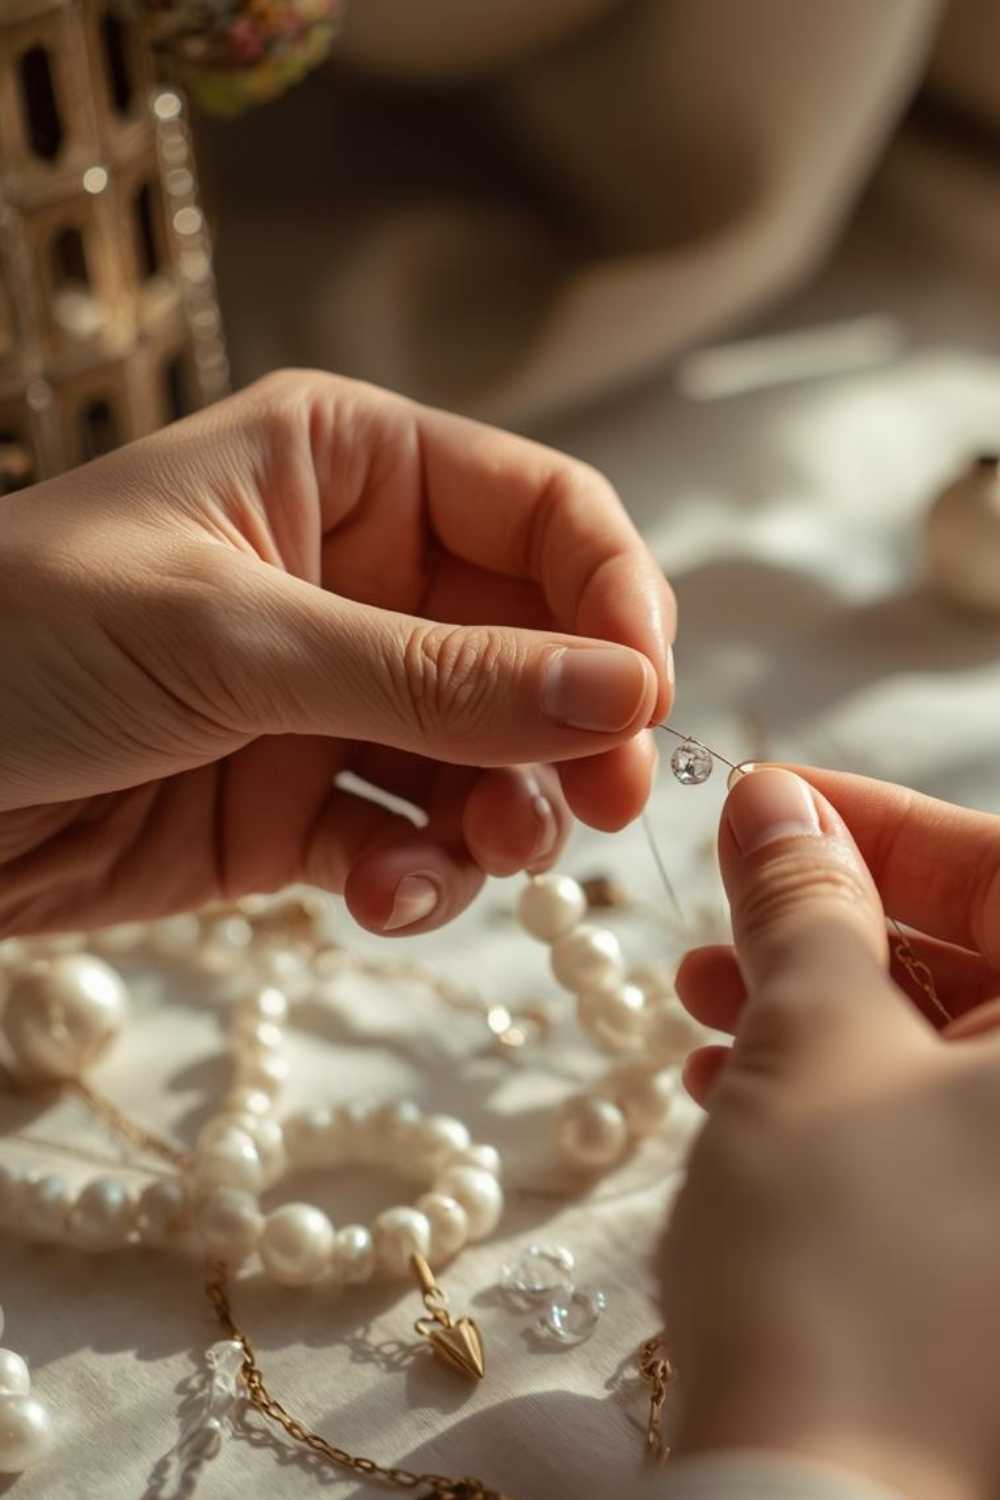
Step 4: Assembling Your Jewelry Without Losing Your Mind
Alright, now comes the fun part, bringing your jewelry to life. This is where those beads, pearls, and charms you carefully picked start turning into a piece that your mom will actually want to wear. And trust me, even if you’ve never made jewelry before, this is completely doable.
start small. Maybe a delicate bracelet, a simple necklace, or even a pair of earrings. Follow the layout you made it’s like your blueprint and let the magic happen. Keep symmetry in mind, but don’t stress if a bead lands slightly off-center; sometimes those little imperfections give your piece personality.
A few tricks you can use: use crimp beads or tight knots to make everything feel polished, and layer textures whenever you can, a pearl next to a shiny crystal, or a tiny metallic charm next to a soft bead, instantly elevates the look. And honestly? If you drop a bead or make a small mistake, don’t panic. Even seasoned crafters redo things a couple of times, and often those “happy accidents” turn into your favorite design twist.
If you’re on a tight timeline, this step is actually perfect, you can turn these pieces into a gift in under an hour, just like I shared in Last-Minute Mother’s Day Gifts You Can Make in One Hour. Pair it with some cute packaging, and you’ve got a last-minute gift that looks anything but rushed.
By the end of this step, your jewelry isn’t just beads on a string, it’s a thoughtful, polished gift that feels luxurious and heartfelt. And the best part is that you’re one step closer to seeing your mom’s face light up when she opens it.
Step 5: The Finishing Touch That Makes It Look Expensive
Now listen… this is the part most people rush.
And honestly, it’s why their DIY ends up looking “just okay” instead of wow.
Because the truth is simple.
It’s not just about what you used.
It’s about how you finish it.
Take a moment and look at your piece not like the person who made it.
Look at it like someone seeing it for the first time.
Would you wear it? would you think it came from a store?
If something feels off, fix it now maybe a bead is too tight, maybe the spacing needs adjusting.
Small changes like this make a big difference.
One thing I’ve learned is that neatness is everything.
When your knots are tucked in properly, everything looks cleaner.
When the wire isn’t sticking out, it feels more polished.
When the design looks intentional, it instantly feels expensive.
And then comes the little detail that one thing that pulls everything together.
It could be a tiny gold spacer, a soft crystal or a simple charm.
Not too much just enough because once you start adding too many things…it stops looking elegant.
And don’t skip this part, give your jewelry a quick clean.
It sounds small, but it matters, a little shine can completely change how it looks.
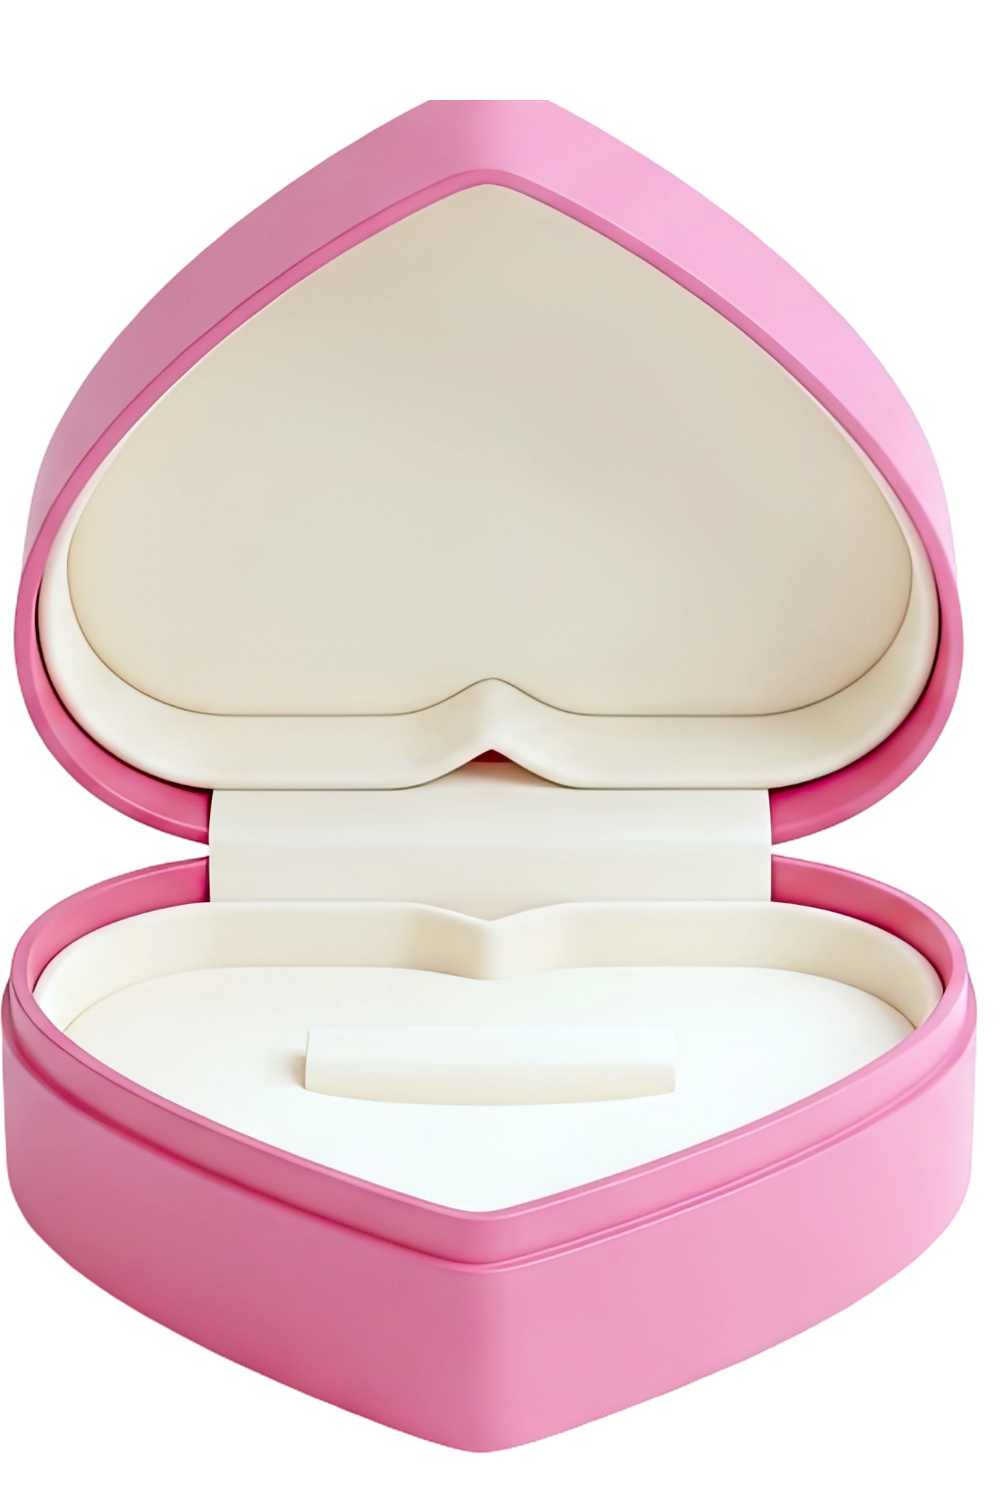
Now Let’s Talk About Presentation
You could make the most beautiful jewelry ever but if you just hand it over like that…it loses the magic.
Presentation changes everything.
Think about the moment she opens it.
A small box, a soft ribbon…..something simple, but thoughtful.
Now imagine adding something personal like a short message or even one of from our Printable Mother’s Day Cards & Coupons.
That’s the part she’ll keep, that’s the part she’ll remember.
And if you want to go a step further, create a little moment around it.
Maybe a calm morning setup, maybe a simple meal together.
Something inspired by this post on 30 Simple Mother’s Day Brunch Recipes She’ll Love.
Now it’s no longer just a gift, It’s an experience.
One Last Thing Before You Wrap It Up
Before you close the box… pause for a second hold the jewelry in your hand because this isn’t just something you made quickly.
You thought about it.
You chose every detail.
You took your time.
And she’s going to feel that.
Maybe she won’t say it right away.
But she’ll feel it.
And that’s what makes it special.
You might love this: Easy Mother’s Day Crafts for Kids (That Moms Will Actually Keep)
Final Thoughts
At the end of the day, this isn’t really about the jewelry you made.
It’s about the moment she opens it.
The pause.
The smile.
That little look that says, “You really thought about me.”
And the beautiful part is… you didn’t need to spend a lot to create that.
You just needed to be intentional.
Because a handmade piece like this? It carries something store-bought gifts don’t always have.
Your time.
Your effort.
Your thought.
And those are the things she’ll remember.
If you’re putting everything together, don’t stop at just the jewelry.
You can easily turn this into a full Mother’s Day moment.
Maybe you add something sweet from my post on 15 Mother’s Day Charcuterie Boards Ideas even something small can make the day feel complete.
Before You Go…
If you loved this idea, don’t stop here.
There are so many simple ways to make Mother’s Day feel special without overcomplicating things.
From heartfelt gifts to easy setups, everything comes down to one thing, making her feel seen and appreciated and trust me… that’s what she’ll remember the most.
If you loved this idea, you’ll definitely want to check out my other Mother’s Day posts below for more inspiration you can pair with your handmade jewelry:
Leave a Reply