Summer has this sneaky way of flying past before you are ready for it to end. One day the kids are running through sprinklers on the first day of the holidays. Then suddenly you are buying new school shoes and wondering where the last three months went. The memories are there somewhere in the back of your mind but the details get blurry faster than you ever expect them to.
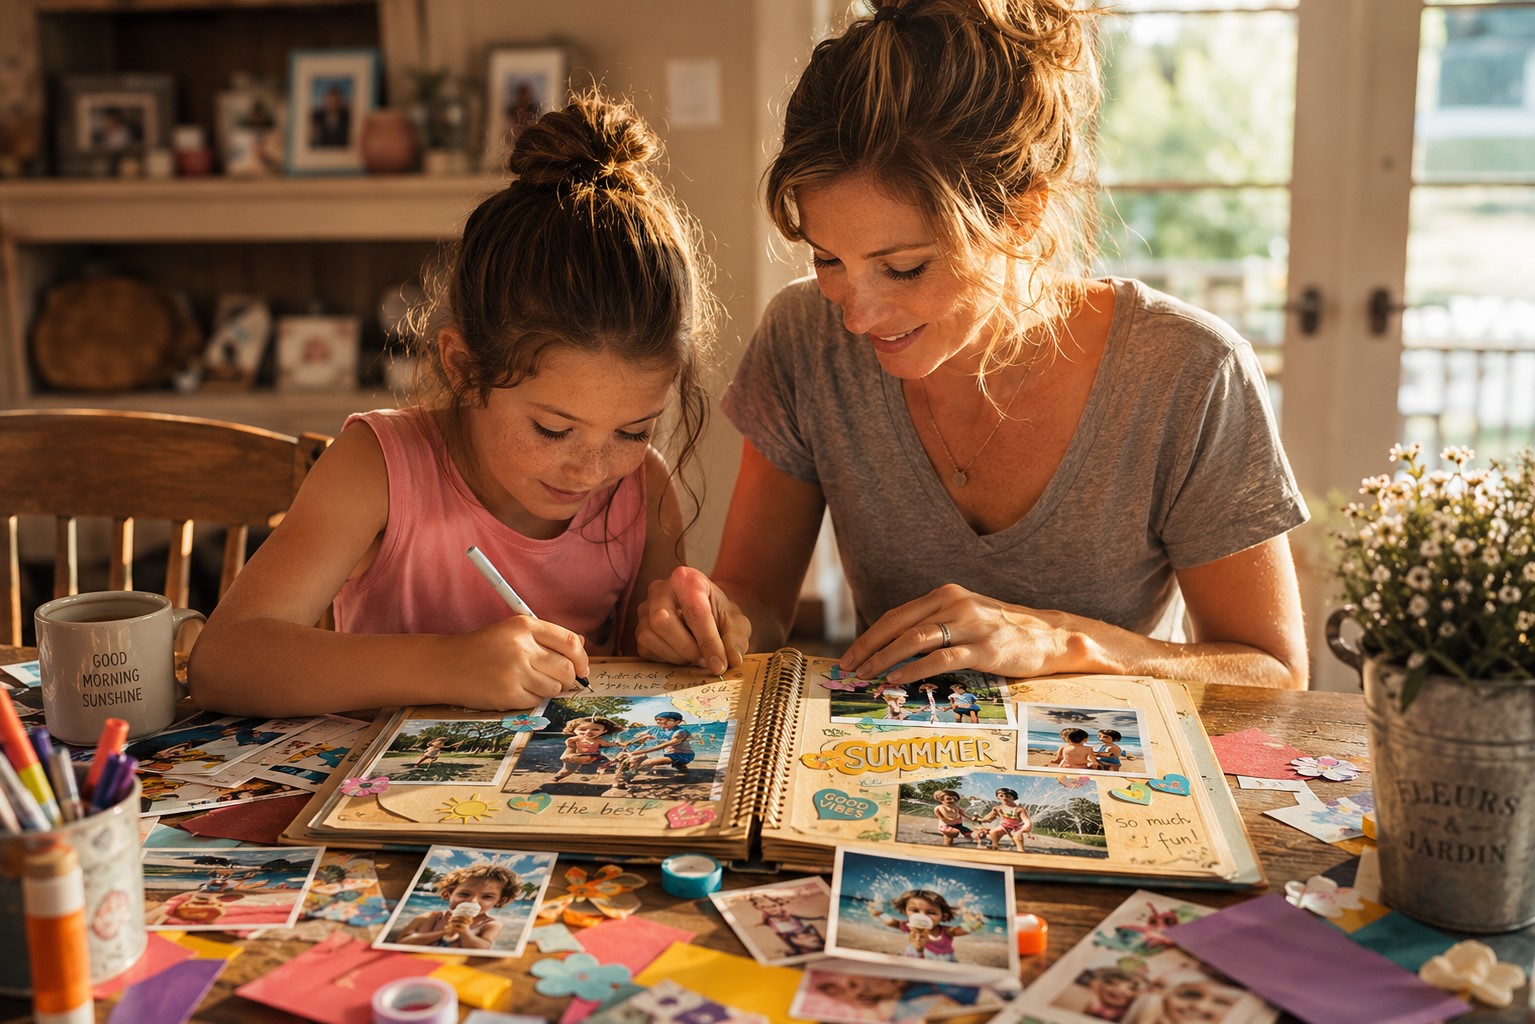
That is exactly why scrapbooking is one of the most valuable things you can do with your children during summer. Not just for the craft of it. But because a scrapbook is a time capsule. It is a physical record of exactly who your child was at this particular age, in this particular summer, loving these particular things.
I have been doing crafts and activities with kids long enough to know which ones leave a lasting impression and which ones get forgotten by next week. Scrapbooking consistently falls into the first category without fail. Kids who make scrapbooks come back to them years later. They sit and read them. They show their friends. They eventually show their own children too.
If you have been following along here on the blog, you will remember our last project on How to Make a DIY Kite With Kids That Will Actually Fly. That project was about going outside, catching the wind, and being completely present in the moment. This project, on the other hand, is about capturing those very moments so they never fully disappear. These two things honestly go beautifully together.
So let us sit down and talk about how to build a scrapbook that your child will genuinely treasure for the rest of their life.
Why Scrapbooking Is More Than Just a Craft
Before we get into supplies and techniques, let me first make the case for why this particular activity deserves far more credit than it typically gets.
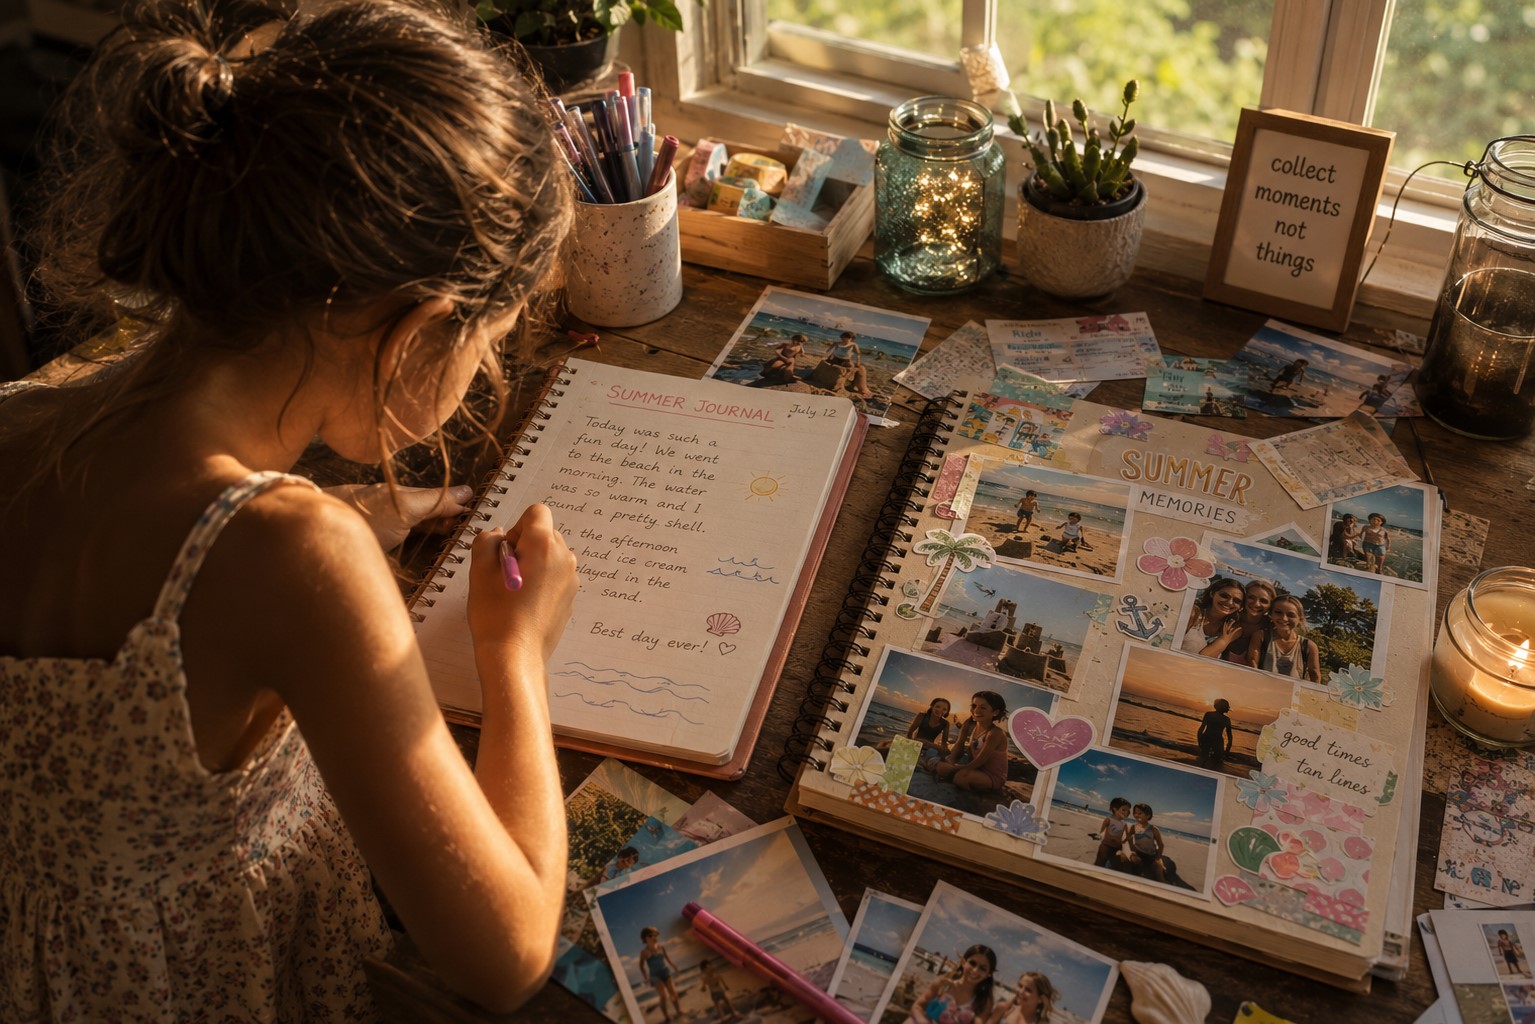
First of all, scrapbooking is genuinely therapeutic for both kids and adults. The act of sitting down, sorting through photos and mementos, and deciding which moments matter enough to preserve is a mindful and grounding activity. For kids especially, it creates a healthy and positive relationship with memory and reflection. It teaches them that their experiences are worth documenting and celebrating openly.
Secondly, scrapbooking builds real literacy skills in a completely natural and pressure-free way. Writing captions, journaling entries, and labels for photos gives kids a meaningful reason to practice writing. The motivation is genuine because they are writing about their own lives and their own experiences rather than a topic assigned to them.
Furthermore, the creative decision making involved builds real confidence over time. Choosing layouts, selecting colors, deciding which photo to feature prominently, and writing captions that capture a feeling accurately are all genuine creative choices. These choices develop taste, judgment, and artistic thinking in children that carries far beyond the scrapbook itself.
The Emotional Value Nobody Talks About
Additionally, there is an emotional dimension to this craft that is honestly worth discussing openly and directly. When a child sits down with their parent to build a scrapbook of shared memories, they are receiving a very clear and tangible message. These moments we shared together mattered enough to save. You mattered enough for me to sit down and do this with you.
That message lands deeply, even for very young children who cannot fully articulate why it feels important. The scrapbook consequently becomes evidence of love in a form they can hold in their hands and return to whenever they need reassurance. Moreover, as children grow older and move through different life stages, that evidence becomes increasingly precious in ways neither of you can fully anticipate right now. Therefore, starting this tradition early is always worth the effort.
Choosing Your Scrapbook Style
Before you buy a single supply, the most important decision you need to make is what kind of scrapbook you actually want to create together. There are several distinct approaches and each one has a different feel and a different set of requirements to consider.
The traditional bound album. This is the classic approach that most people picture first. A pre-bound album with blank or lightly lined pages that you fill with photos, journaling, and embellishments. It feels like a real book when it is finished. It sits beautifully on a shelf and pages stay in order permanently. This is consequently the best choice if you want something that looks polished and lasts for decades.
The ring-bound album. A ring binder style album allows you to add, remove, and rearrange pages freely as you go. This flexibility is genuinely useful if you are adding to the scrapbook throughout the summer rather than building it all at once at the end. Additionally, ring-bound albums allow kids to be very hands-on with the physical assembly because pages can be worked on individually and inserted later without disrupting the rest.
The loose page portfolio. Simply a collection of decorated pages kept together in a folder, box, or large envelope. This is the most flexible approach and the lowest barrier to entry of all the options. There is no album to buy upfront. Kids can work on individual pages completely independently and the collection grows organically throughout the whole season.
Smaller Format Options Worth Considering
The mini scrapbook. A smaller format book, sometimes called a mini album, focuses on a single event or a single week rather than the entire summer. These are faster to make and feel very achievable for younger children with shorter attention spans. They also make wonderful gifts for grandparents or other family members who were part of specific summer experiences together.
Ultimately, there is no wrong choice here. The best scrapbook style is simply the one that matches your child’s age, your available time, and how much of the process you want to enjoy together versus independently. Therefore, take a few minutes to talk through the options with your child before committing to any particular format.
What You Need to Get Started
Now let us talk about supplies. I want to be clear about one thing from the very beginning. You do not need to spend a lot of money on this project at all. The scrapbooking industry can make it seem like you need specialty tools and expensive embellishments to make something beautiful. You absolutely do not need any of that.
Your scrapbook or album. Whichever style you chose above. Look for one with acid-free pages if possible. Acid-free materials prevent photos from yellowing and deteriorating over time, which is especially important for a project specifically meant to last for decades.
Printed photos. This is genuinely the heart of any scrapbook. Go through your phone camera roll from the summer and print your favourite shots. Most pharmacies and supermarkets offer same-day photo printing at very reasonable prices. Print a range of sizes so you have options when building your pages.
Cardstock and patterned paper. These form the backgrounds and decorative layers of your pages. Cardstock in solid colors is your everyday workhorse. Patterned paper adds visual interest and personality. Look specifically for summer themed patterns like florals, stripes, watercolors, and tropical prints that match the season you are documenting.
Adhesives. A good glue stick handles most basic needs effectively. Double-sided tape gives cleaner results for photos and heavier elements. Foam adhesive squares add beautiful dimension by lifting elements slightly off the page surface, consequently creating a layered and professional effect.
Scissors and decorative edge scissors. Regular scissors handle general cutting. Decorative edge scissors, on the other hand, create wavy, zigzag, or scalloped edges on photos and paper which adds a lovely handmade quality to every page.
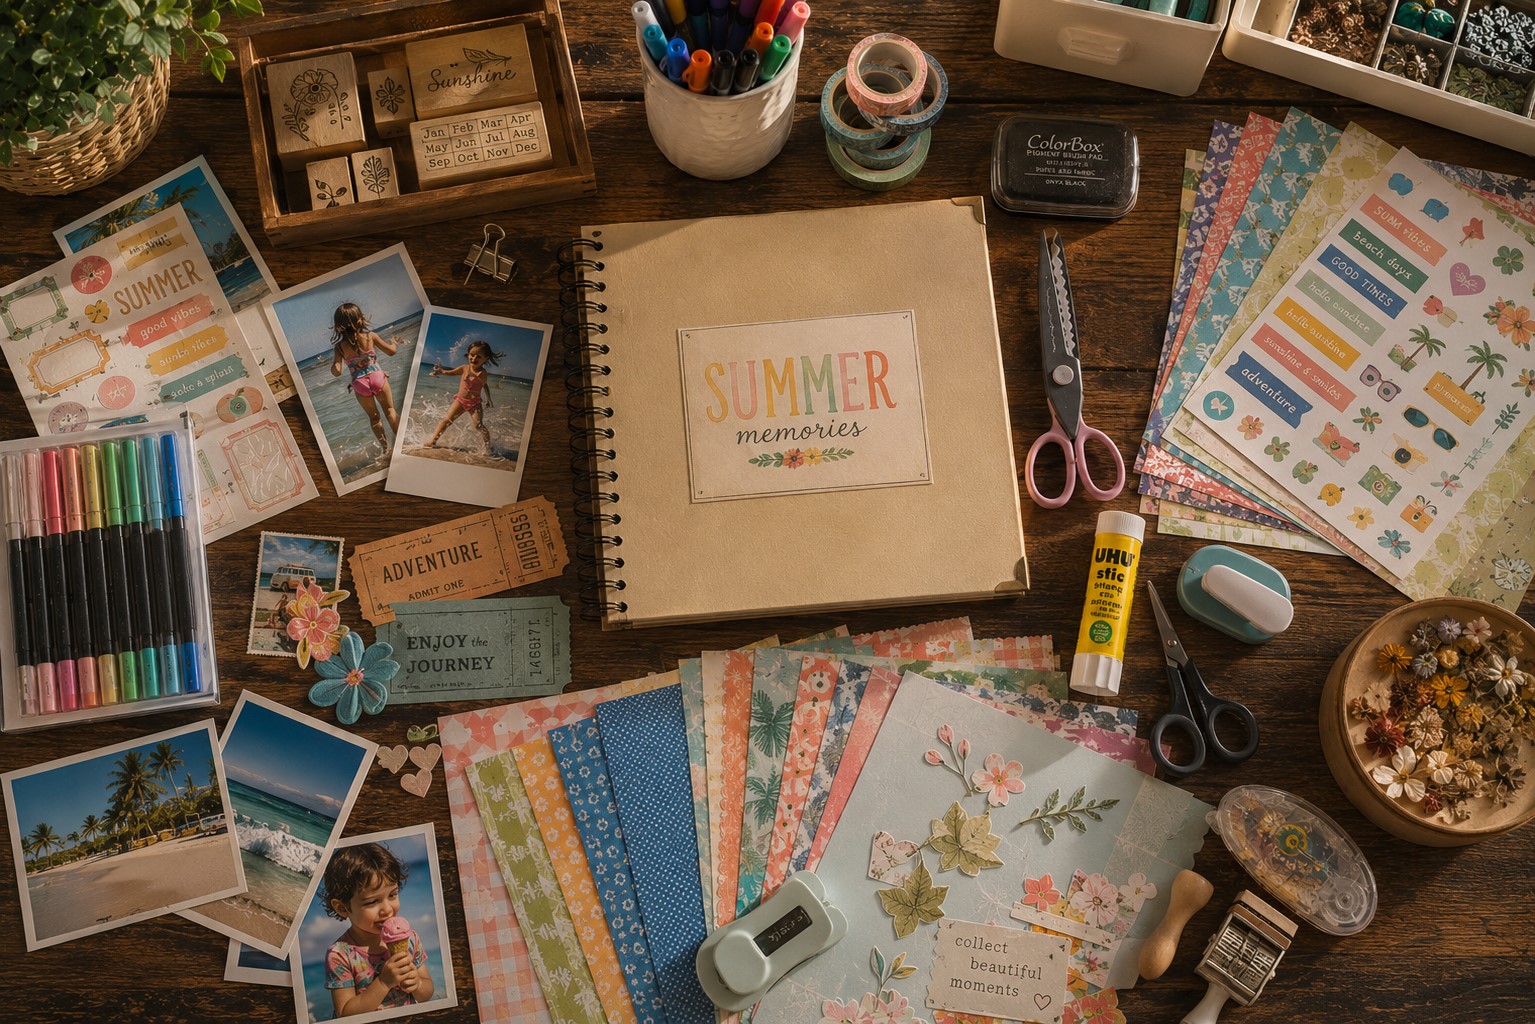
Embellishments and Decorating Supplies
Pens and markers. For journaling, captions, titles, and decorative lettering throughout the book. A set of fine-tipped colored pens gives kids a lot of creative flexibility. Metallic pens additionally add a beautiful finishing touch to titles and decorative borders.
Stickers and washi tape. These are genuinely the easiest way for younger kids to decorate pages independently and confidently. A good collection of themed stickers and a few rolls of patterned washi tape go a very long way toward making pages look polished without requiring advanced craft skills from small hands.
Stamps and ink pads. Simple rubber stamps create repeating decorative elements quickly and consistently. Summer themed stamps like suns, waves, flowers, and stars are widely available inexpensively. Moreover, they add a lovely cohesive feel across multiple pages throughout the book.
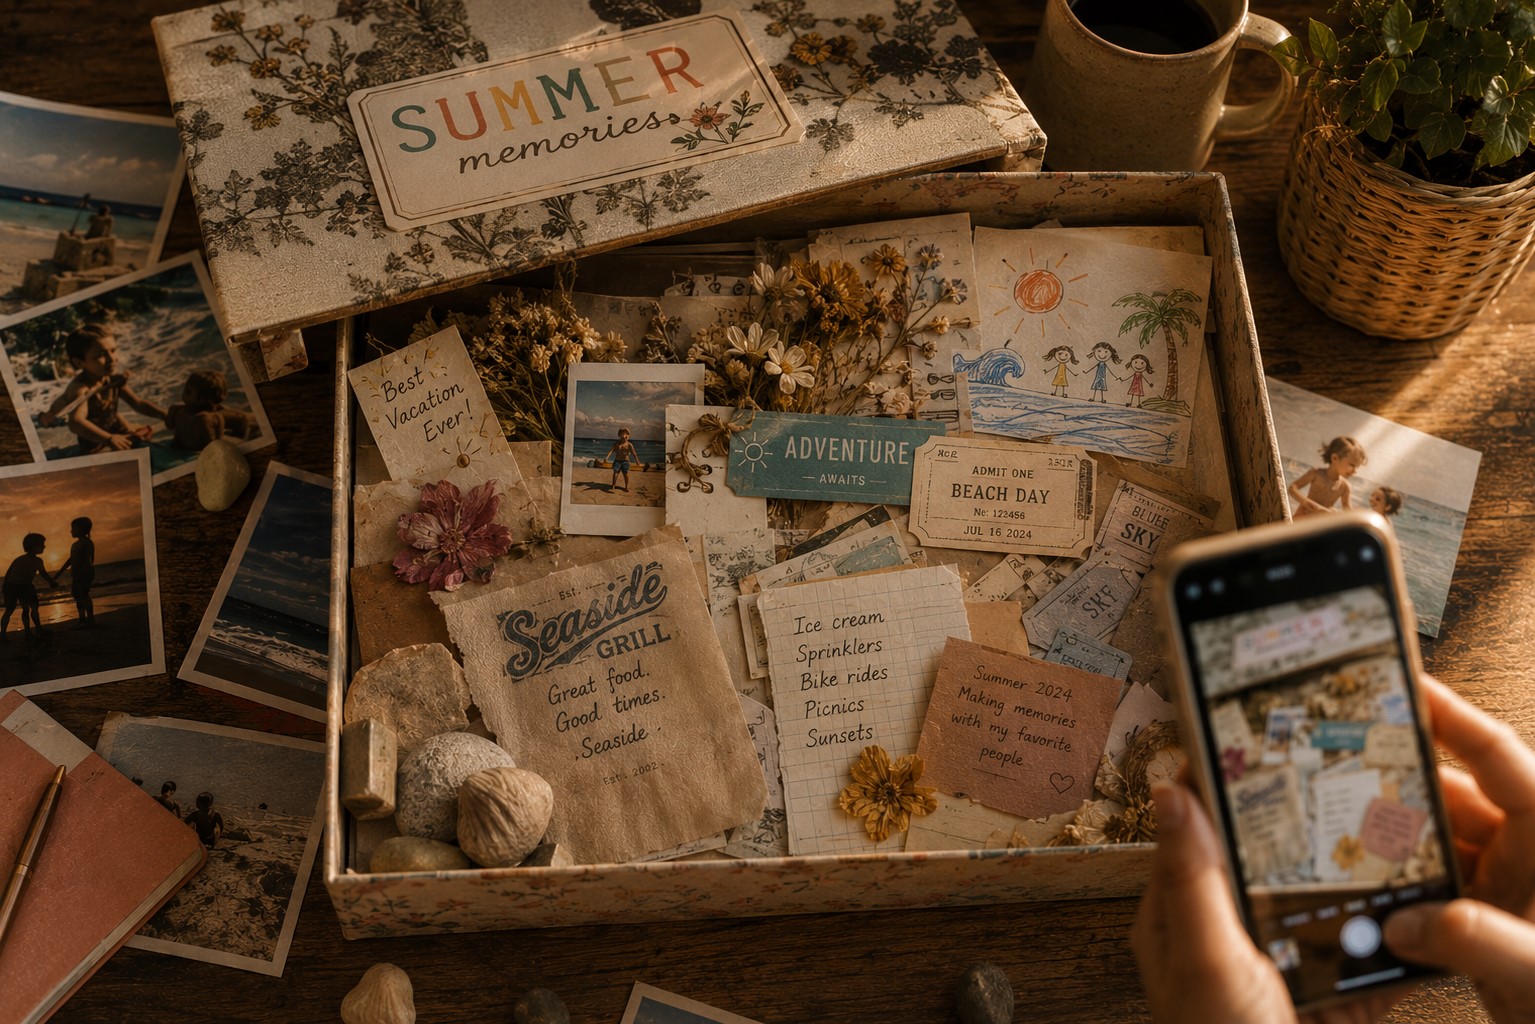
Memorabilia. This is what truly separates a special scrapbook from a basic photo album. Ticket stubs, pressed flowers, fabric swatches, postcards, receipts from favourite ice cream shops, wristbands from events, sand collected in a small sealed envelope. These physical objects from actual summer experiences give the scrapbook a texture and authenticity that photographs alone simply cannot capture no matter how good the photos are.
Collecting Materials Throughout the Summer
Here is a piece of advice that makes the scrapbooking process significantly smoother and far more rewarding. Start collecting materials before you ever sit down to build the actual scrapbook pages.
Keep a designated summer memory box or large envelope somewhere accessible throughout the entire season. Every time you do something worth remembering, throw any physical mementos straight into the box immediately. A pressed flower from the garden. A paper napkin from a memorable restaurant dinner. A pebble from the beach. A drawing your child made on a rainy afternoon. A movie ticket stub from a summer film.
At the same time, develop a conscious habit of taking photos with scrapbooking specifically in mind. Not just posed family portraits, though those certainly matter too. Also take photos of the small and specific details that capture the actual feeling of summer as you are living it. A close-up of sandy feet. A melting ice cream in a child’s hand. The view from your favourite park bench. These detail shots are often ultimately the most evocative photos on any scrapbook page.
Keeping a Simple Summer Journal
Additionally, encourage your child to keep a very simple summer journal alongside the memory box throughout the season. This does not need to be a daily diary by any means. Even a few sentences written once or twice a week captures the kind of specific personal detail that photographs miss entirely.
What did you eat for breakfast this morning? What made you laugh today? What are you looking forward to tomorrow? What was the best part of this week? These simple prompted questions generate honest, specific, personal writing that becomes absolute gold when you are finally building pages later in the season.
Furthermore, a child reading their own words from earlier in the summer while building their scrapbook is a genuinely moving experience. They are essentially having a conversation across time with a slightly younger version of themselves. That is a genuinely profound thing to give a child, even if they cannot fully articulate why it feels so significant in the moment.
Planning Your Pages Before You Start
Sitting down to start a scrapbook without any plan is the fastest route to a frustrating afternoon for everyone involved. Consequently, spending just fifteen to twenty minutes on loose planning beforehand makes the whole process flow much more naturally and enjoyably.
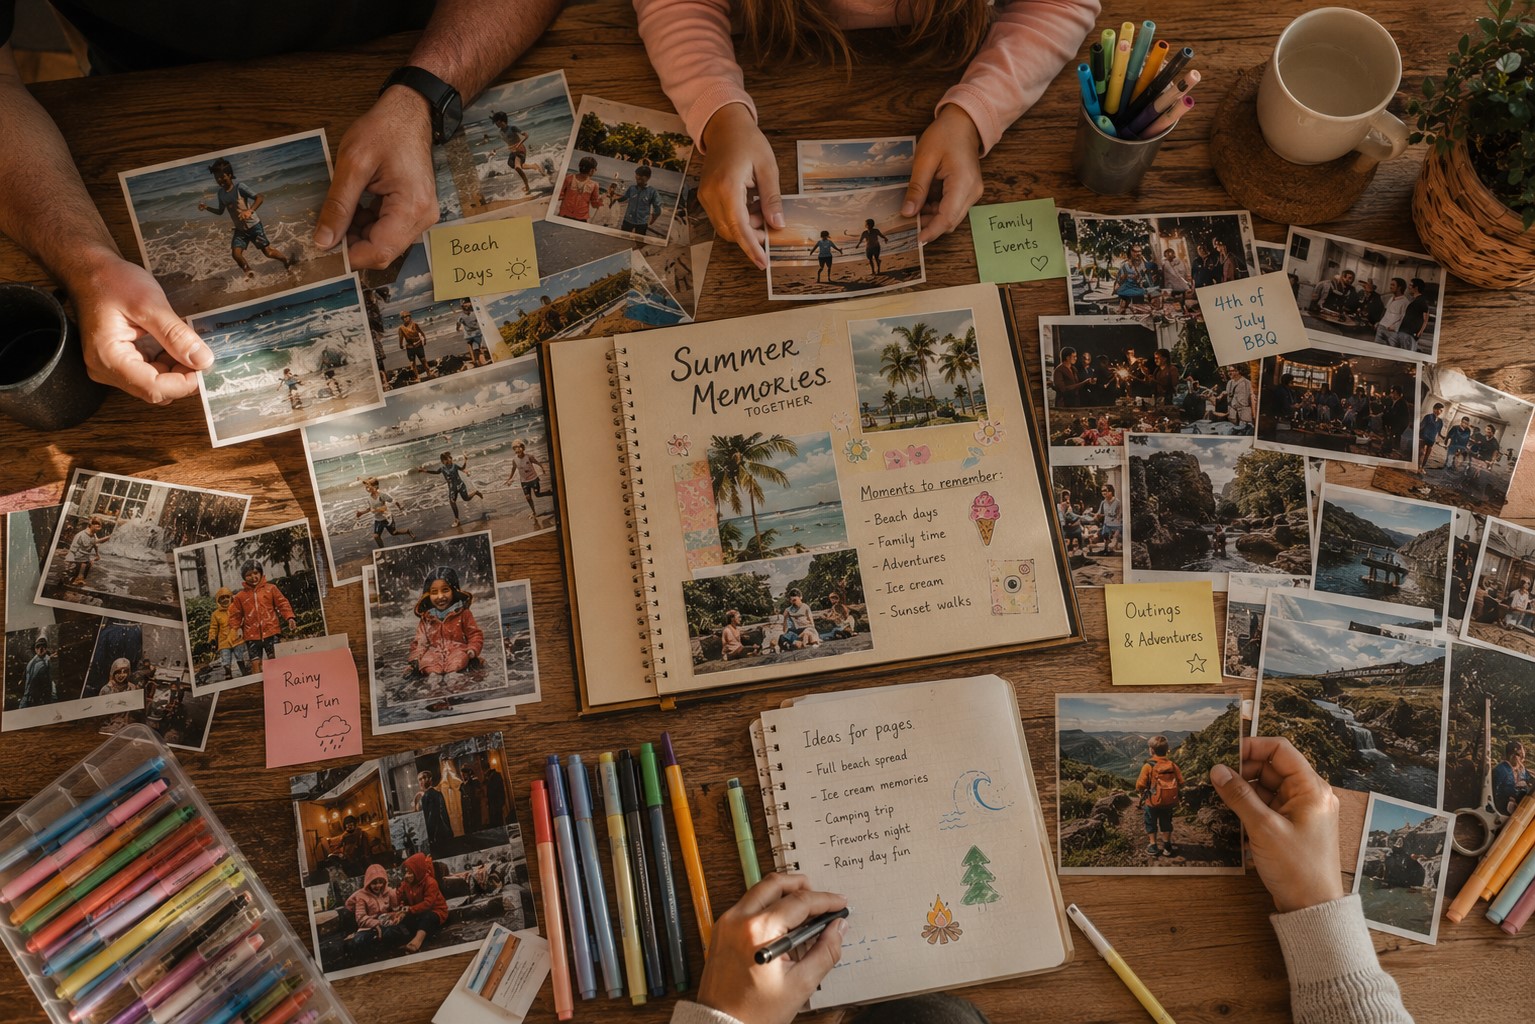
Start by sorting your printed photos into clear groups together. Chronological groupings work well for some families. Thematic groupings, however, often work even better. Beach days together. Family gatherings together. Rainy day activities together. Days out together. Let your child help with this sorting process because their sense of what belongs together is often more interesting and personal than a strictly chronological arrangement would be.
Once your photos are sorted into groups, decide roughly how many pages each group deserves. Some memories might warrant a full double page spread. Others might share a page comfortably with another smaller memory. This rough page count gives you a practical sense of how much decorative material you need for each section before you start cutting anything.
Sketching Your Layout Ideas
Then sketch very loosely on plain scrap paper what each page might look like before committing to anything. Where will the main photo go? Where will the title sit? Will there be a journaling block? Where will embellishments be placed? These are genuinely not technical drawings. Just rough rectangles and quick notes are sufficient.
The purpose of this sketching step is simply to avoid staring at a blank page later with a child beside you who is gradually losing patience. Even the loosest plan gives you a starting point and prevents that paralyzed feeling. Moreover, kids actually enjoy the planning stage when you frame it as designing rather than preparing. Show them how to sketch a rough layout and watch them take genuine ownership of the whole process from the very beginning.
Basic Page Layout Principles
You do not need to be a designer to create pages that look beautiful and feel visually balanced. A few simple principles applied consistently will honestly carry you a very long way.
The rule of three. Group elements in odd numbers throughout your pages. Three photos, three embellishments, three colors. Odd numbered groupings look naturally balanced and appealing to the eye in a way that even numbered groupings rarely achieve.
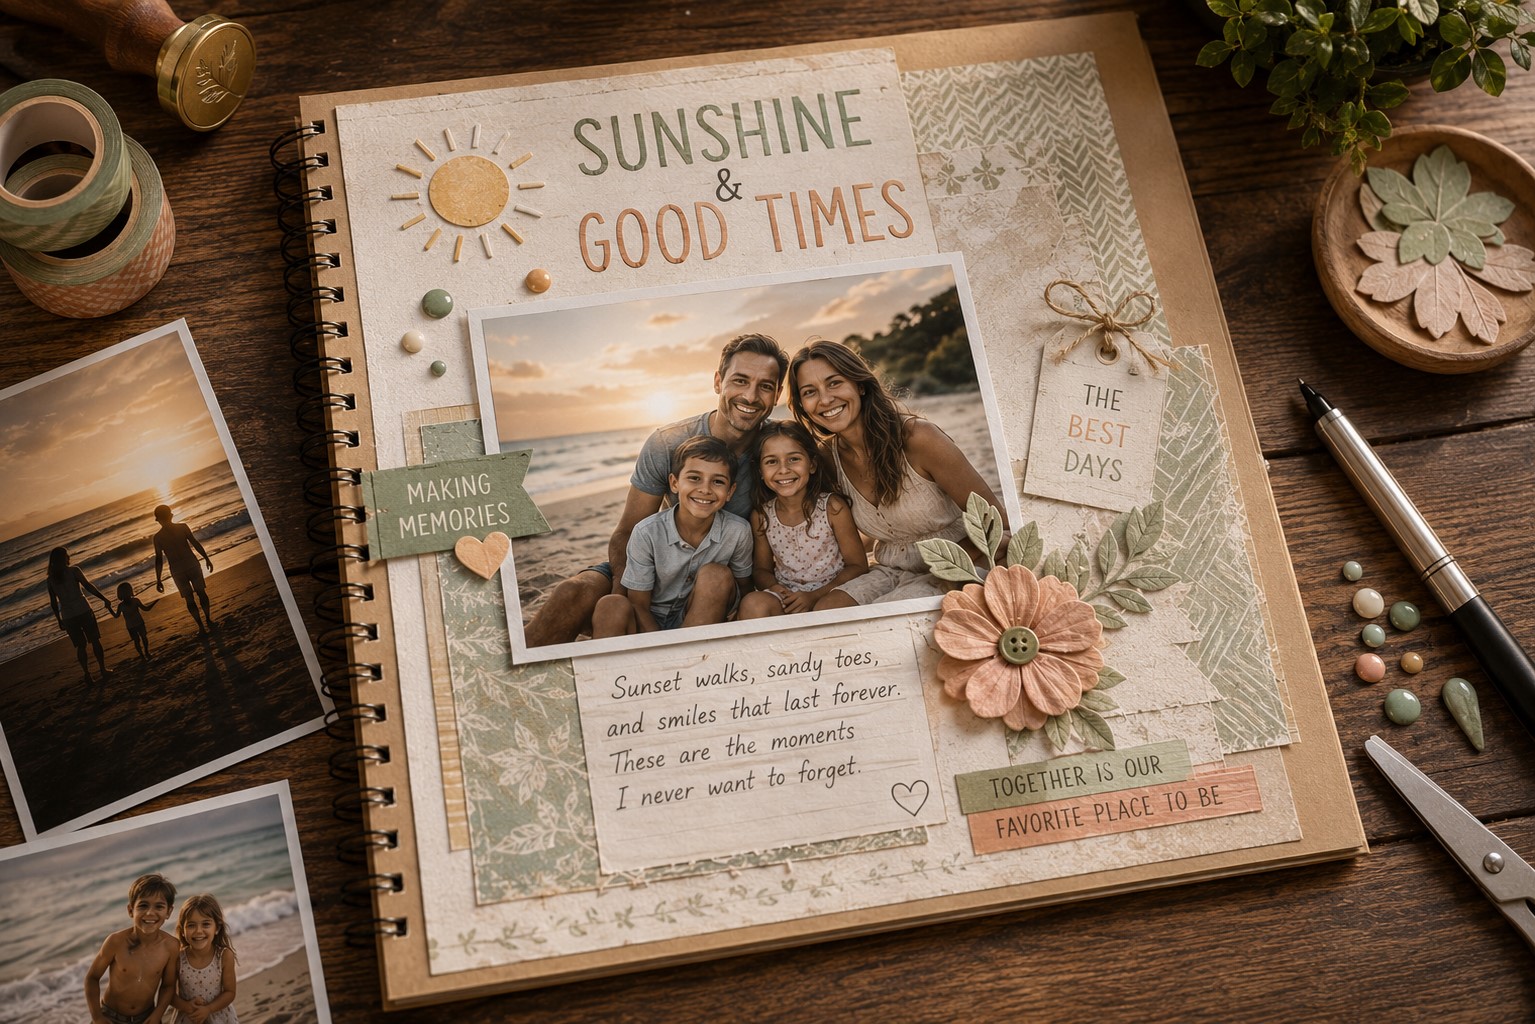
Create a clear focal point. Every page should have one element that is clearly the most important thing on it. Usually this is your strongest photo from that memory. Make it noticeably bigger than everything else on the page. Place it in a prominent position. Let everything else on the page support and frame it rather than compete with it directly for the viewer’s attention.
Use a limited color palette consistently. Choose two or three colors that complement each other and stick to them throughout the page. A page with too many competing colors looks chaotic and overwhelming. A page built around just two or three colors, on the other hand, looks cohesive and considered even when it contains many different elements.
Layering and Spacing for Beautiful Results
Layer your elements deliberately. Place background papers down first. Then add medium-sized decorative elements. Then place photos on top of those. Then finally add small embellishments and details last of all. This layering process creates visual depth that makes pages feel rich and full without ever looking cluttered or overwhelming.
Leave deliberate breathing room. Not every single inch of the page needs to be covered with something. White space or empty background space gives the eye somewhere comfortable to rest between elements. It also consequently makes the elements you did place feel more intentional and visually important by comparison.
Keep your journaling readable above all else. Write captions and journaling blocks in a clear and consistent hand. Use contrasting pen colors against your background paper so the text remains actually legible. Journaling that nobody can comfortably read defeats the entire purpose of including it in the first place.
Getting Kids Involved at Every Stage
The scrapbook should ultimately belong to your child. Not to you. This distinction matters enormously for how invested they feel in the process and how much they genuinely treasure the finished product afterward.
Therefore, resist the strong urge to take over when their cutting is a little uneven or their sticker placement is not exactly where you would have chosen to put it. A page decorated imperfectly by a child’s own hands is infinitely more precious than a perfectly arranged page you made on their behalf. The fingerprints in the glue, the slightly crooked photo, the endearingly wobbly handwriting. These are not flaws to be corrected. These are proof of authorship and they become more charming with every passing year.
That said, there are genuinely helpful ways to guide without controlling the process. Give two specific options rather than unlimited open-ended choices. Would you like the blue background or the yellow one? Should the title go at the top or the bottom of the page? Would you like stars or flowers around this particular photo? Limited choices keep younger children from feeling overwhelmed while still giving them real and meaningful creative ownership throughout.
Age Appropriate Tasks for Different Children
For children aged three to five, the best tasks are sticker placement, choosing between two paper colors, and gluing pre-cut elements that you hand to them one at a time in sequence. Keep their sessions intentionally short. Twenty to thirty minutes is genuinely plenty for this age. Come back to it in a second session rather than pushing through when focus starts to visibly fade.
For children aged six to nine, let them do their own cutting with craft scissors, write their own captions with gentle spelling support if needed, and choose their own photo arrangements within a loosely suggested layout framework. This age group is often the most enthusiastic about scrapbooking because they are old enough to understand what they are creating but young enough to find the whole process completely magical.
For children aged ten and above, step back significantly and let them lead. Offer supplies when asked. Answer questions thoughtfully. Give a genuine compliment when something looks great. But otherwise let them work through their vision independently. Older kids often develop a creative direction for their pages that surpasses anything you would have planned for them anyway.
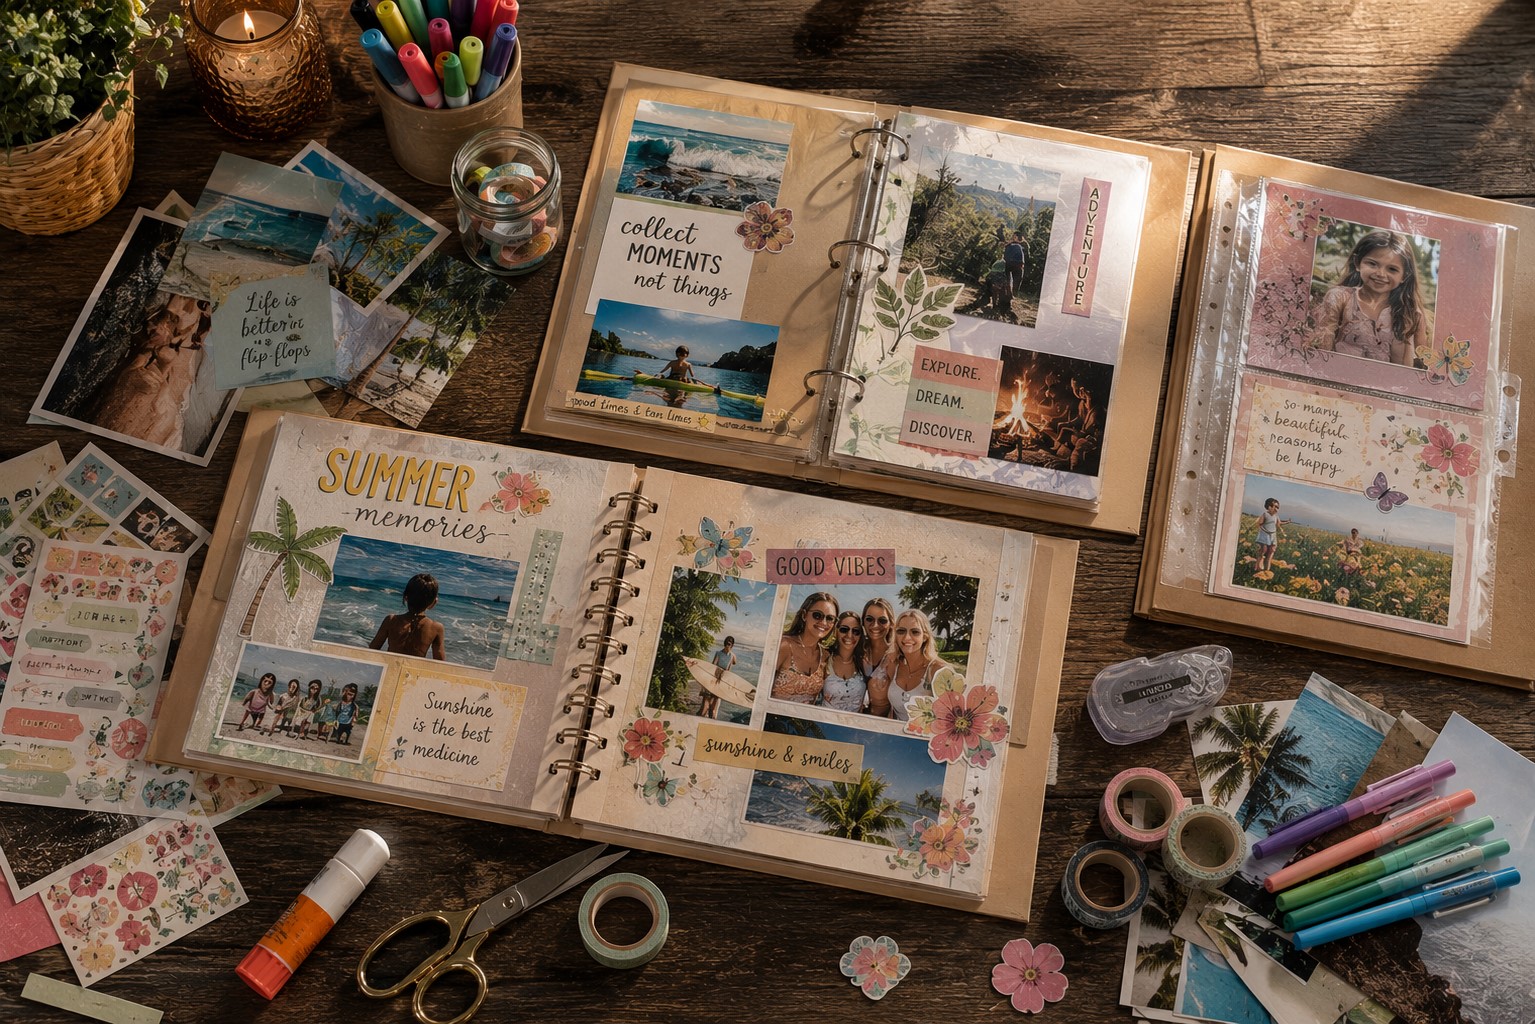
Theme Ideas for Summer Scrapbook Pages
Sometimes the hardest part of building a page is simply deciding what specific memory to focus on first. Therefore, here are some summer theme ideas that work beautifully as dedicated scrapbook pages or double page spreads.
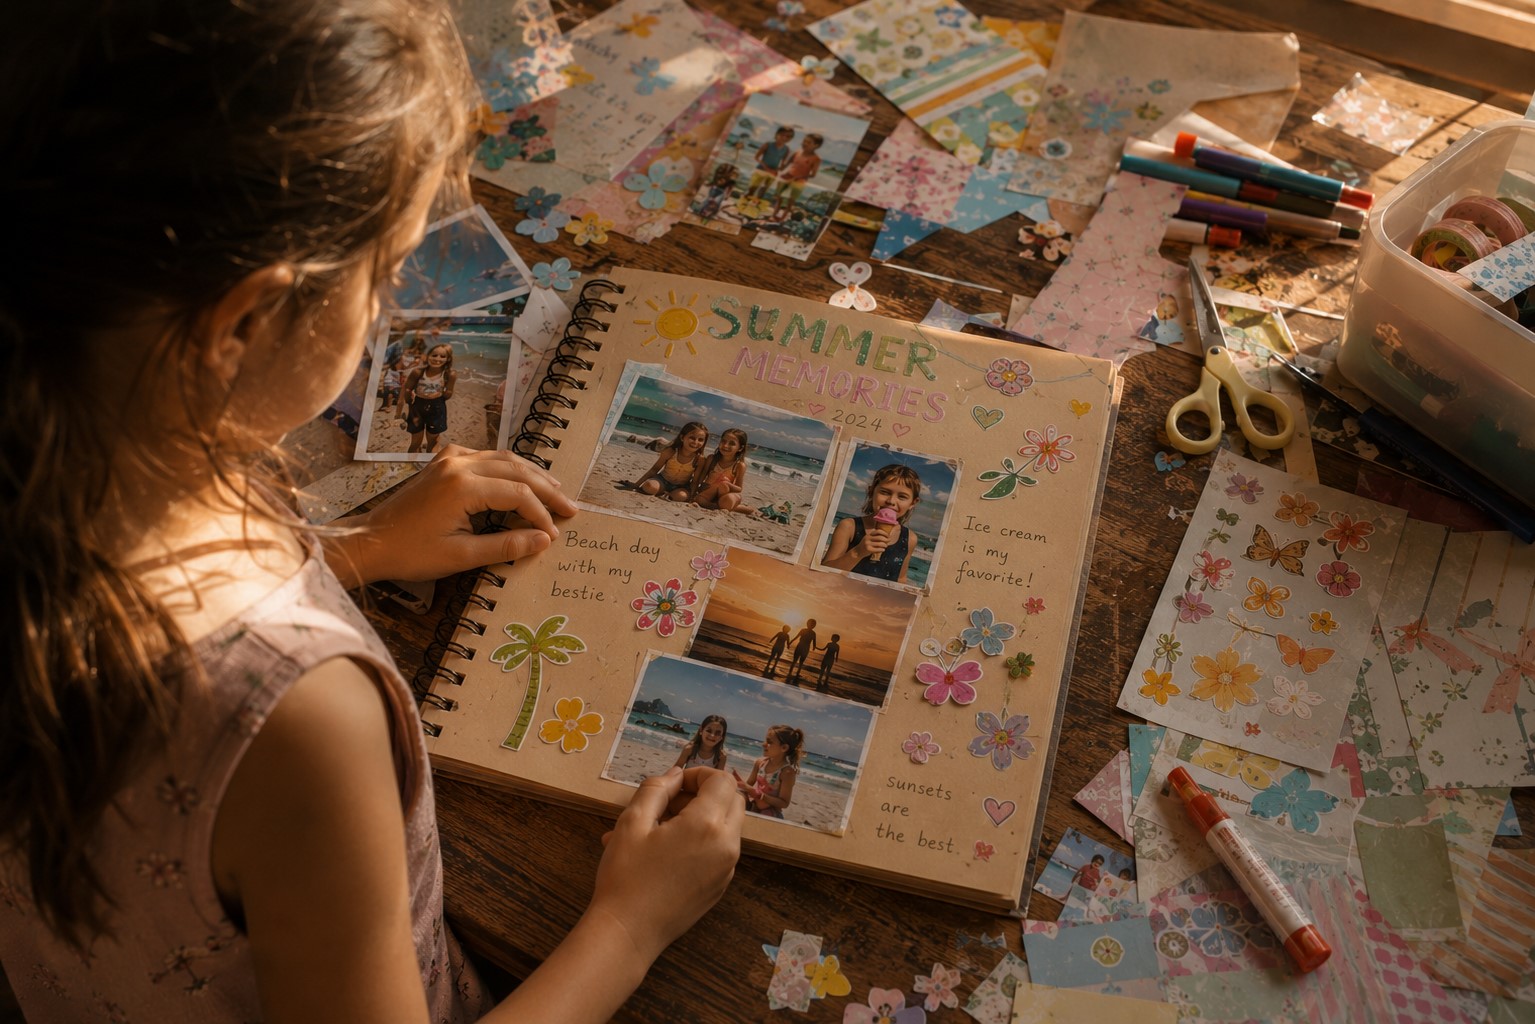
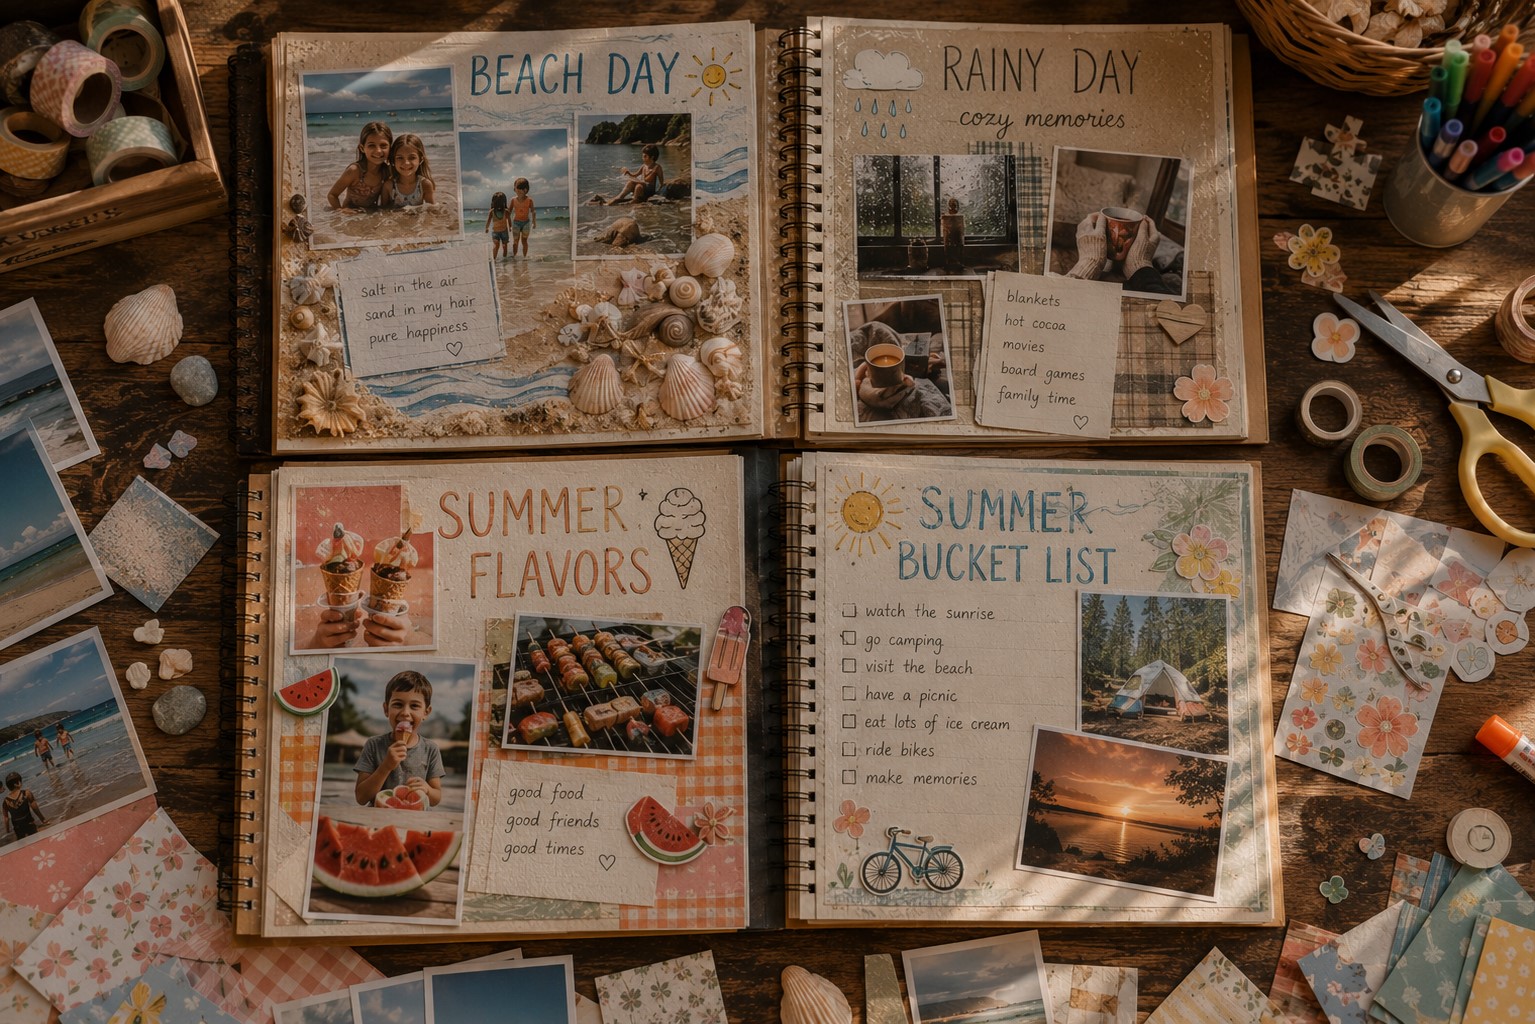
The beach day page. Use sandy textures, blue and aqua colors, and shell themed stickers throughout. Include a small sealed envelope on the page holding actual sand or a tiny shell from the specific trip. Write a caption about the particular feeling of that day. What the water felt like on your feet. What everyone ate for lunch. Who got the most sunburned and complained about it most dramatically.
The favourite summer food page. Collect photos of all the summer foods your family loved and celebrated this season. Ice cream flavors tried and ranked. Barbecue meals eaten outside. Watermelon on the back porch on a hot afternoon. Let your child write their absolute favourite food of the entire summer and explain specifically why. This page is always a joy to read aloud years later.
The rainy day page. Not every summer memory happens in glorious sunshine and that is perfectly fine. The rainy day memories are often the coziest and most nostalgic of all. Puzzle afternoons. Movie marathons under blankets. Baking together in a warm kitchen. These cozy moments deserve a dedicated page with warm colors and soft textures that capture the indoor feeling accurately.
More Page Ideas to Consider
The people page. A page dedicated specifically to the people who made this summer genuinely special and memorable. Friends visited. Family gathered for celebrations. Neighbours who became unexpectedly part of the season. Include a small handwritten note from each person if at all possible. This particular page becomes more precious and meaningful with every single passing year without exception.
The bucket list page. At the very start of the summer, make a bucket list together of everything you want to do before school starts again. Photograph the list. Then at the end of the summer, photograph the same list again with checkmarks beside everything you actually accomplished together. The two photos placed side by side on a page tell a beautiful and honest story of shared intention and follow through that children genuinely love looking back on.
Finishing and Preserving Your Scrapbook
Once your pages are complete and assembled in your album, a few final steps will protect your hard work and ensure it genuinely lasts for decades to come.
First, store your scrapbook consistently away from direct sunlight. UV light is the single biggest enemy of printed photos, colored paper, and any printed materials over time. A bookshelf positioned out of direct window light is a good choice. A proper storage box is even better for serious long-term preservation of something this meaningful.
Additionally, keep the scrapbook away from high humidity environments at all times. Bathrooms, kitchens, and damp basements cause paper to warp and photos to deteriorate much faster than they otherwise would. A bedroom bookshelf or a climate-controlled living area is consequently the right permanent home for a treasured family scrapbook.
If your album has a cover, consider personalizing it together as a final shared activity. The child’s name and the year written clearly. A favourite photo slipped into a clear cover pocket. Washi tape decoration running along the spine. The outside of the album should feel as personal and inviting as all the pages living inside it.
Making Copies for Family Members
Furthermore, consider making simple duplicate pages of your most important spreads to share with grandparents or other family members who appear throughout the scrapbook. A small printed photo book made from your scrapbook photos through an online printing service makes a wonderful and unexpected gift. It costs very little to produce and means the absolute world to grandparents especially.
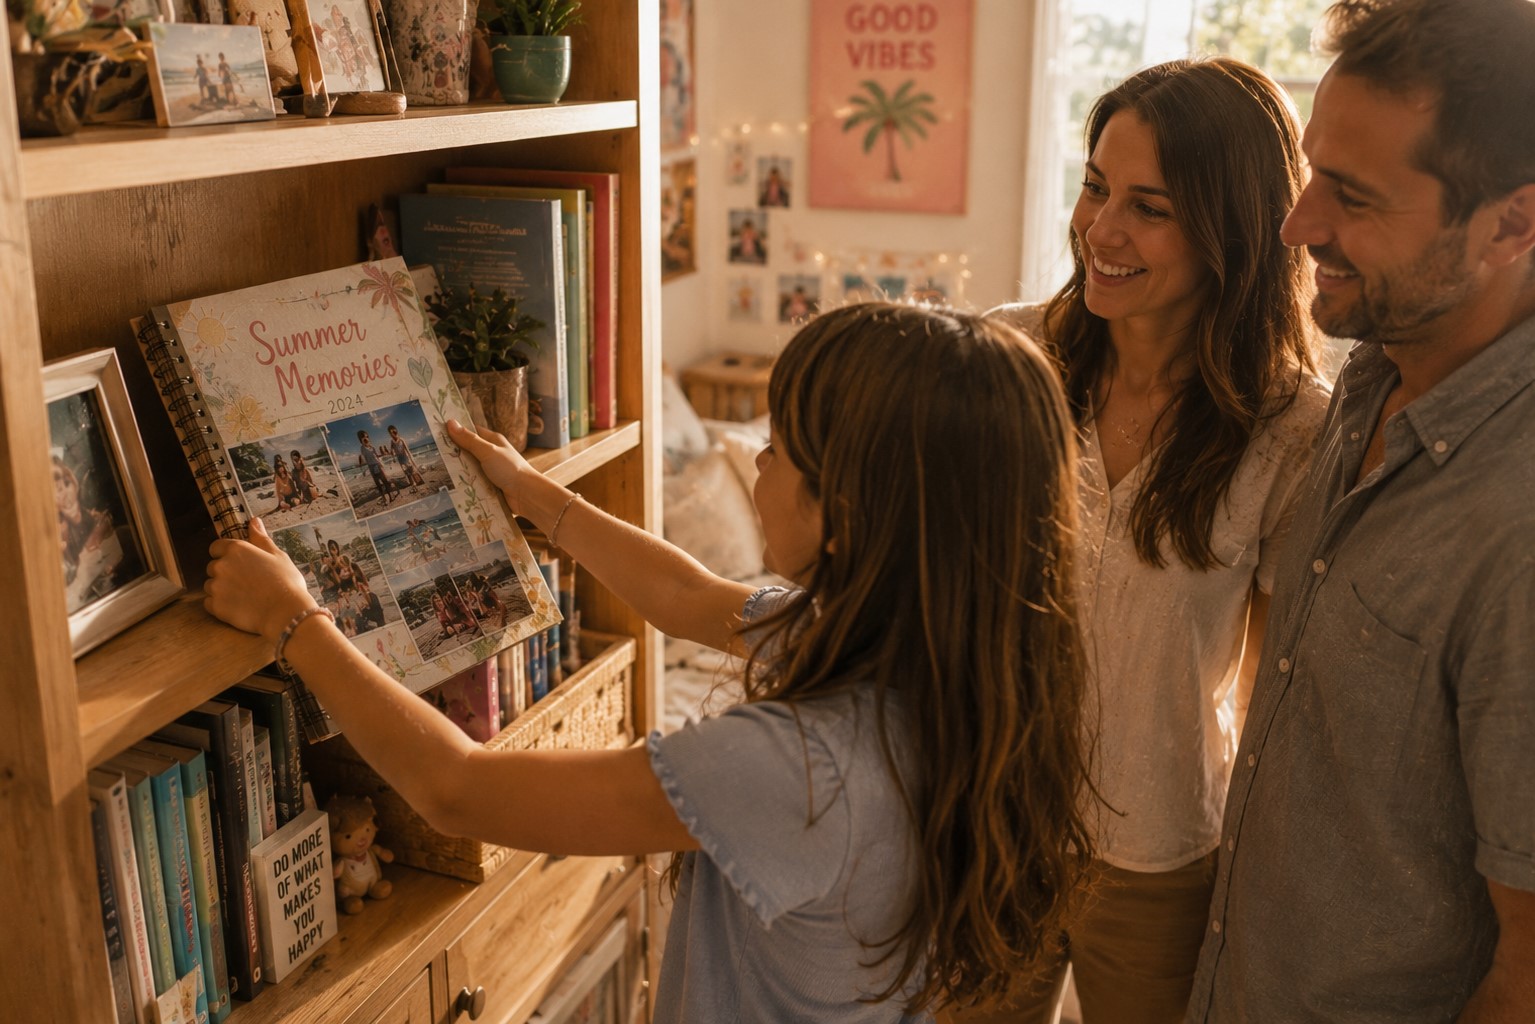
Finally, sit down together and read through the finished scrapbook the very moment it is complete. Before it gets filed away on a shelf. Before the season officially transitions into autumn. Sit close together, turn every page slowly and deliberately, read every caption out loud, and let your child tell you the stories behind every single photo in their own words.
That reading-together moment is honestly the entire point of everything you just created. All the gluing and cutting and decorating leads ultimately to this. To two people sitting close together, looking at their own summer, realizing it was even better than they remembered while they were actually living it.
One Last Thought Before You Close This Tab
Summers with children are finite in a way that is genuinely difficult to feel fully in the middle of them. There are only so many summers where your child is exactly this age, loving exactly these things, laughing at exactly these jokes with exactly this laugh. The scrapbook is therefore how you hold onto that reality just a little longer than memory alone allows.
Not perfectly. Not forever. But long enough to go back to someday and remember that yes, that summer happened exactly as you remember it. We were there together. We made things with our hands. We ran through sprinklers and flew kites and collected pebbles from beaches and ate ice cream that dripped down our arms in the sun.
And it was good. It was really, genuinely good.
So go find a blank album this week. Print some photos from your camera roll. Sit down together this summer and start filling the pages together one memory at a time.
Because the memories you capture and preserve this season are ultimately the ones your child will carry warmly with them for the rest of their life.
Leave a Reply