Let me tell you something.
The first time I sat down to do crafts with a group of kids, I made every mistake in the book.
Glitter was everywhere. And I mean everywhere. It was on the table, on the chairs, on my shirt, and somehow on the dog. To this day, I still find glitter in random places and just laugh about it.
But you know what? The kids had the absolute best time.
That day taught me something I have never forgotten. Crafting with kids is not about being perfect. It is also not about having the fanciest supplies. On top of that, the finished product does not even need to look good.
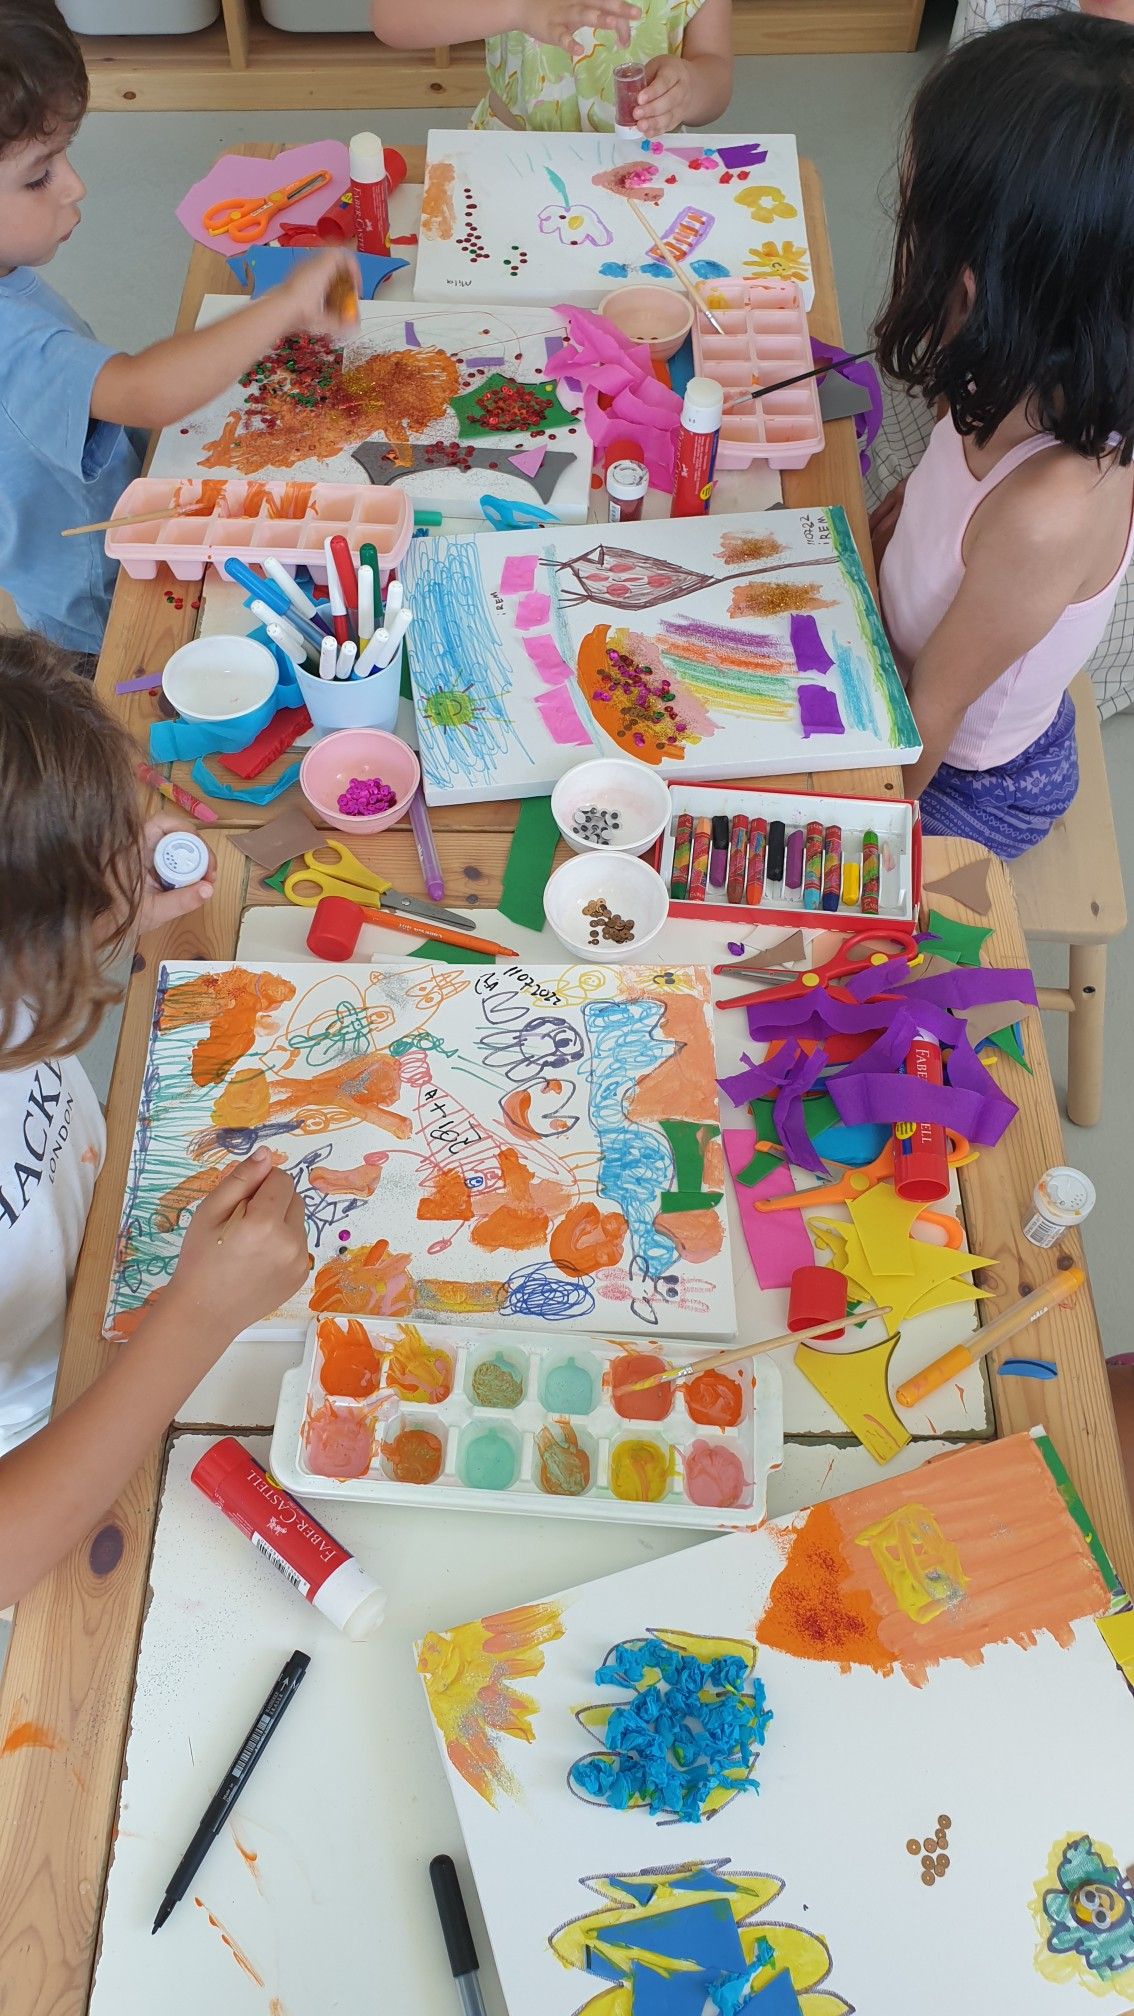
What matters is the process. The mess. The laughter. The little hands covered in paint. The look on a child’s face when they hold something up and say, “I made this.”
If you are reading this right now, chances are you want to start crafting with your kids but you are not sure where to begin. Maybe you feel like you are not creative enough. Perhaps the idea of a messy house makes you nervous. Or maybe you just don’t know what supplies to buy or what projects to try first.
I get it. I have been there.
And I am here to tell you, you can absolutely do this.
Why Crafting With Kids Is Worth Every Bit of the Mess
Before we get into the how, let’s talk about the why.
Because trust me, on the days when you are cleaning paint off the kitchen floor, you are going to need to remember why you started.
As a certified teacher, I have seen what crafting does for children up close. And honestly, it is amazing.
When a child cuts paper, they are building fine motor skills. Following craft instructions also helps them practice listening and focus. In addition, mixing colors and seeing what happens is basically science in action. As a result of creating something from scratch, kids naturally learn to problem-solve and think creatively.
And beyond all of that? They are building confidence.
One little boy in my class comes to mind whenever I think about this. He was quiet and struggled with reading and math. He did not raise his hand much. However, the moment we brought out the craft supplies, he came alive. The projects he made were the most detailed, creative work I had ever seen from a child his age. Crafting gave him a place to shine.
That is what it can do for your child too. Whether they are three years old or twelve, crafting gives kids a space where there are no wrong answers. Trying is enough. Being messy is simply part of the fun.
So yes, it is worth the glitter on the dog.
Okay, here is where I want to save you some stress.
The biggest mistake most parents make when they first start crafting with kids is going too big too fast.
They see a gorgeous craft on Pinterest. It has seventeen steps and requires six different materials they don’t have. On top of that, the finished project looks like it belongs in an art gallery.
Then they try to recreate it on a Tuesday afternoon with a four-year-old who hasn’t had a snack yet.
It does not go well.
I have done this myself. Other parents fall into the same trap too. The result is always the same…frustrated parent, upset child, abandoned craft on the table.
Here is the truth. Complicated projects are not required to have fun. There is nobody to impress here. Instead, all you need is something simple, age-appropriate, and low-pressure.
Start small. Start simple. Then work your way up.
That is the beginner’s golden rule.
What Age Can Kids Start Crafting?

This is one of the most common questions I get. And the answer is going to surprise you.
Kids can actually start crafting as young as one year old.
Now, obviously a one-year-old is not going to be making a popsicle stick birdhouse. However, finger painting is totally possible. Crumpling tissue paper, sticking foam stickers onto a page, pressing a little hand into paint to make a handprint, all of that works beautifully at this age. And they will love every second of it.
Here is a rough guide by age to help you know what to expect:
Ages 1 to 2: Simple sensory play works best here. Think finger painting, playing with playdough, tearing paper, and sticking large stickers. Keep it very open-ended, there is no project, just exploration.
Ages 3 to 4: Basic tools can come in now. Child-safe scissors, glue sticks, crayons, and markers are all great. Projects like paper collages, painted rocks, and simple paper crafts work well at this stage.
Ages 5 to 7: Kids this age can follow simple step-by-step instructions. They can cut more accurately, use craft glue, and complete a project from beginning to end. Think paper plate crafts, nature art, and basic weaving.
Ages 8 to 12: This is where things get really fun. More complex projects, sharper scissors, and even beginner sewing or woodworking with supervision are all fair game.
Every child is different, though. Some three-year-olds are more advanced than some five-year-olds. So always follow your child’s lead and adjust as you go.
What Supplies Do You Actually Need to Get Started?
Alright, let’s talk supplies.
This is where a lot of beginners overthink things. One look at a big online craft list and suddenly it feels like two hundred dollars needs to be spent before anything can even start.
That is simply not true.
Here is what I call the Beginner Craft Starter Kit. These are the basics that will cover you for dozens of different projects. Furthermore, most of them can be found at your local Dollar Tree or Walmart without spending a lot of money.
Paper: Construction paper, cardstock, and plain white printer paper are your three must-haves. Construction paper is great for cutting and folding. Cardstock, on the other hand, holds up better for things that need to stand on their own. Printer paper is ideal for tracing, drawing, and painting.
Adhesives: A glue stick works great for younger kids, while a bottle of white school glue is better for older ones. That is really all you need to start. A hot glue gun can come later once the kids are older and something stronger is needed.
Paint: Get a basic set of washable tempera paints. Washable is the key word here — trust me on this. Washable paint comes off clothes, hands, tables, and faces without a fight, which makes it your best friend as a beginner.
Brushes: A pack of basic paintbrushes in a few different sizes is all you need. Nothing fancy is required. The Dollar Tree ones work just fine when you are starting out.
Markers and Crayons: Every child should have these. For younger kids especially, washable markers are the way to go.
Scissors: Child-safe scissors with rounded tips are perfect for the little ones. Older kids, however, do better with a standard pair of kids’ scissors that have a slightly sharper blade for detailed cutting.
Once you have the basics covered, a few small additions can open up a whole new world of project ideas.
Popsicle sticks, pipe cleaners, foam sheets, googly eyes, pom poms, and washi tape are all worth picking up when you can. These little extras do not cost much at all. Yet having them on hand means you can say yes to so many more craft ideas on a whim.
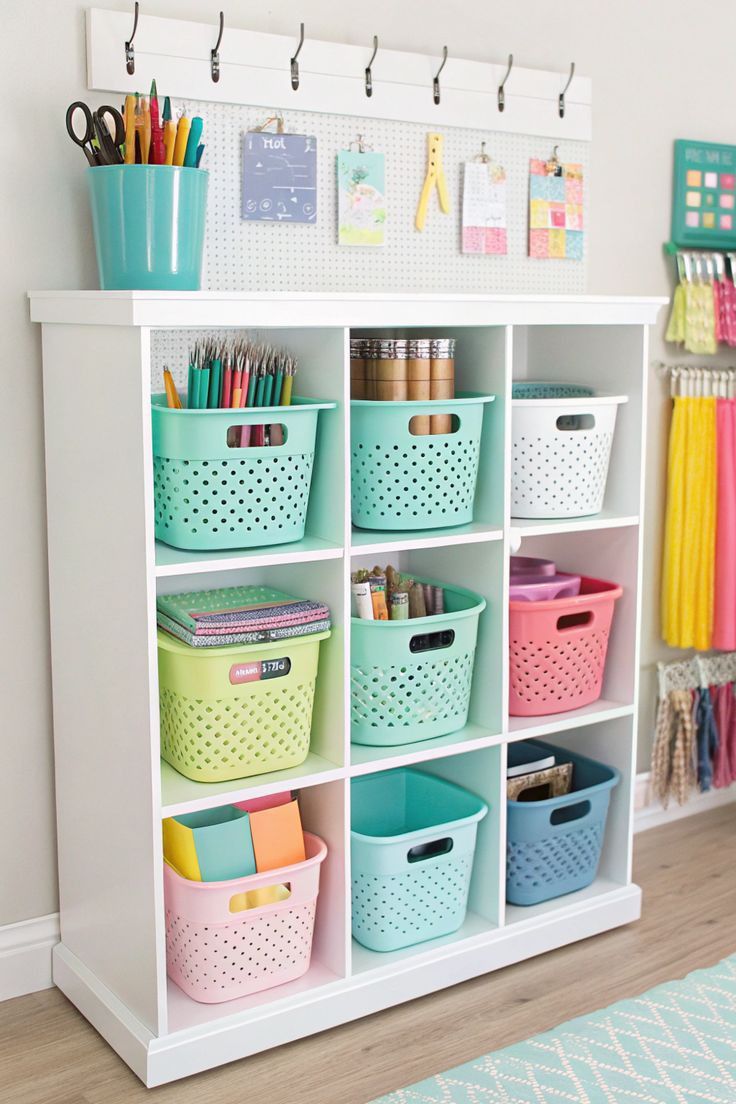
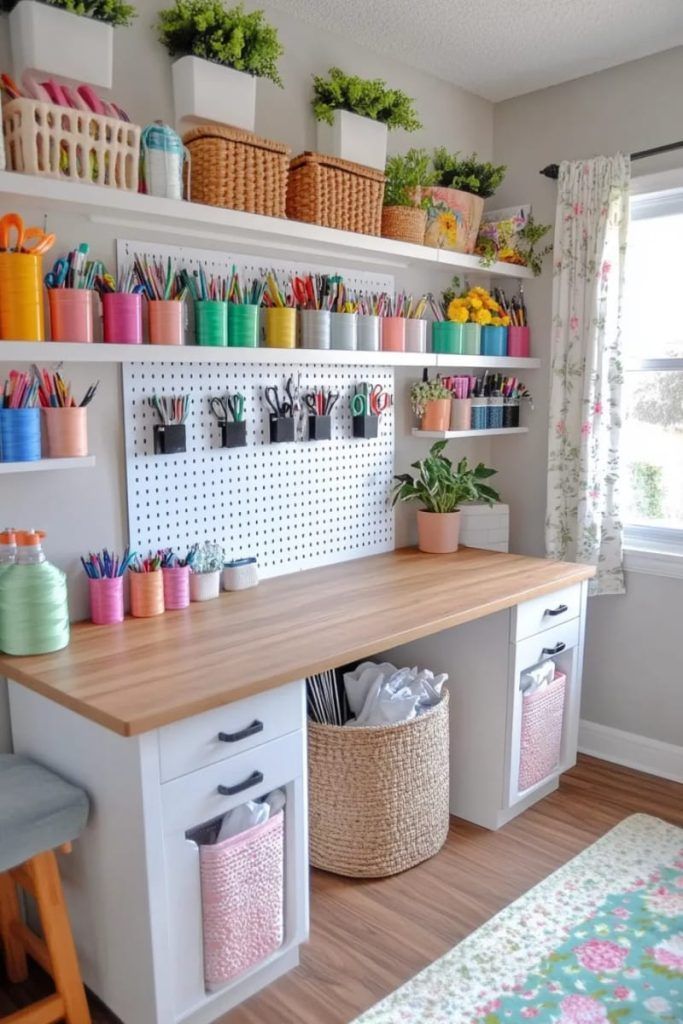
A fully stocked craft room is not required to begin. In fact, a small basket or plastic tote that holds your supplies is more than enough to get started.
How to Set Up Your Craft Space (Without Ruining Your House)
Okay, I know what some of you are thinking right now.
“But what about the mess?”
I hear you. A clean house matters to me too. The anxiety that comes with handing a four-year-old a jar of glitter and saying “go for it” is very real.
But here is what I have learned over the years, a little bit of preparation goes a very long way.
Cover your surface. A plastic tablecloth from the Dollar Tree costs about a dollar and fully protects your table. When you are done, just wipe it off or throw it away. Old newspapers or a vinyl drop cloth work just as well.
Dress for the mess. Put your child in an old t-shirt or an art smock before you start. This one step alone eliminates so much stress. Once the clothes are already “craft clothes,” stains stop feeling like a crisis.
Use trays. Put each supply in its own small tray or container. Not only does this keep things organized, but it also makes cleanup so much easier. Dollar Tree has great small trays and bins for exactly this purpose.
Set up near a sink. If possible, do your crafts in the kitchen or somewhere close to a sink. That way, rinsing hands mid-project is quick and easy.
Have wipes ready. Keep a pack of wet wipes or a damp cloth right on the table. Little hands get messy fast, and a quick wipe without leaving the table keeps the chaos nicely contained.
The Cleanup Trick That Actually Works
From a very young age, I taught my students that cleanup is simply part of crafting. Before any project started, we talked about where things go when we are done. Kids rise to the expectation every single time. Make it normal, and they will follow through.
My favorite trick is a small timer. When we finish crafting, I set five minutes on the clock and turn it into a game, how much can we put away before it goes off? It works every single time without fail.
Your First Five Beginner Craft Projects to Try This Week
Now for the fun part.
Here are five super simple projects to try right away. These are projects I have personally done with kids of different ages. They require minimal supplies, they are low-mess, and they all deliver big results.
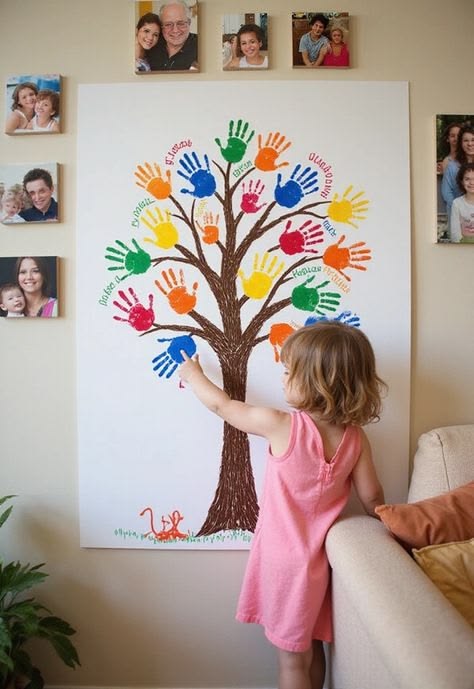
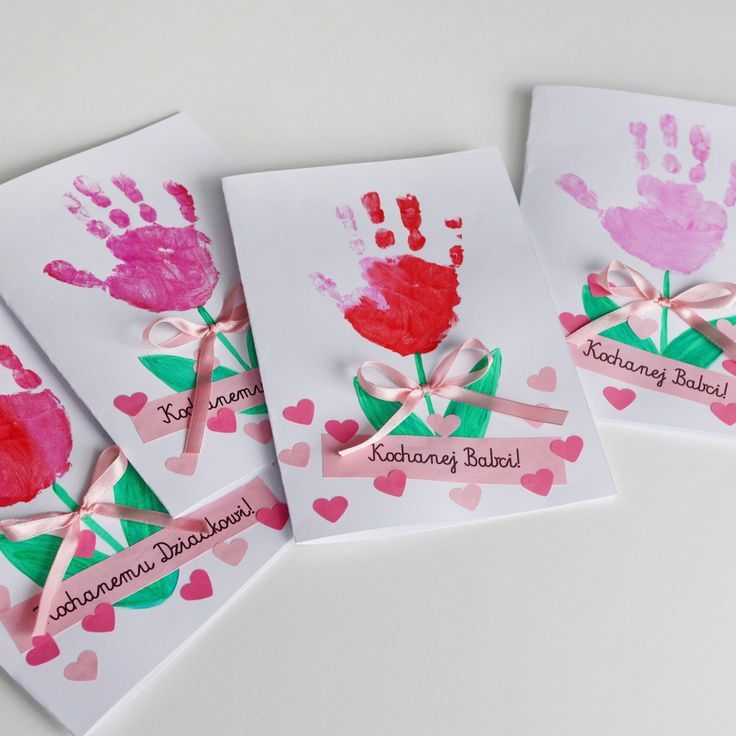
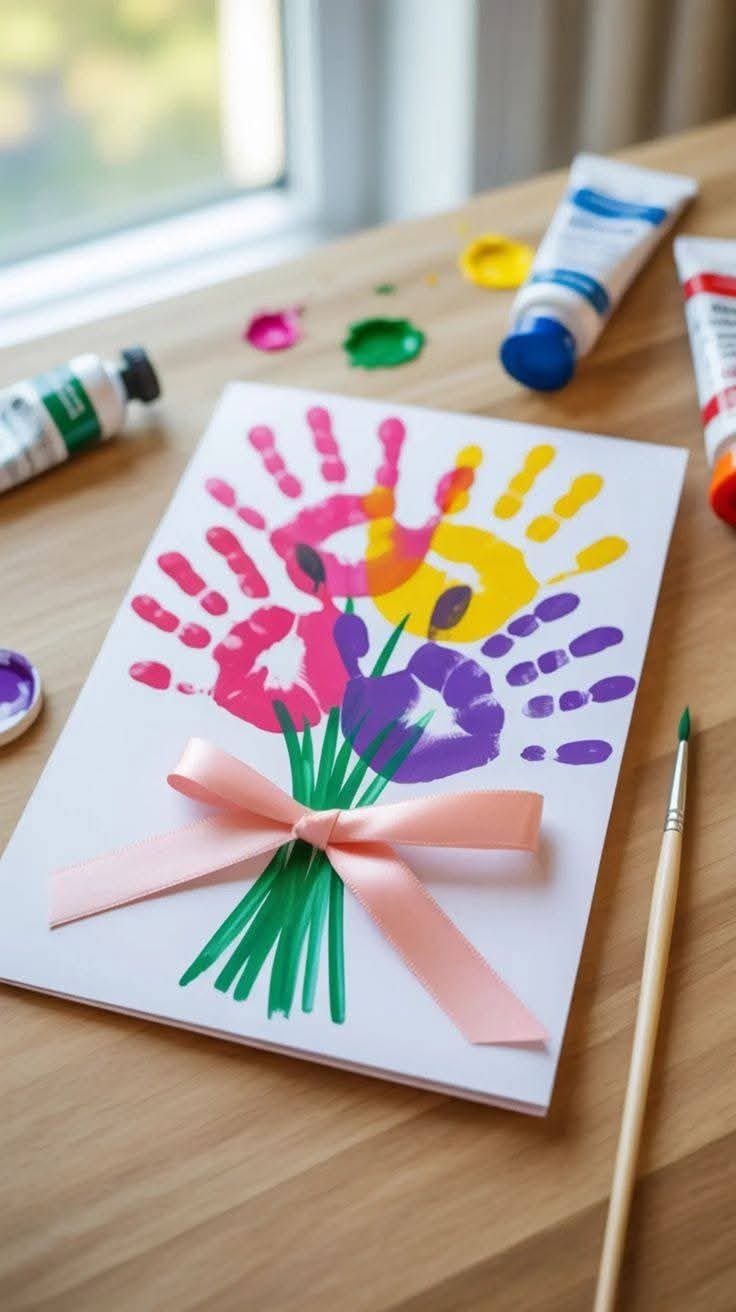
A classic for a reason. All you need is paint, paper, and your child’s hand.
Press their hand into the paint, then press it onto the paper. Once it dries, use a marker to turn the handprint into something, a turkey, a flower, a butterfly, a tree. The possibilities are truly endless.
Parents always tear up a little over handprint art. Before you even realize it, it has become a keepsake.
2. Painted Rocks
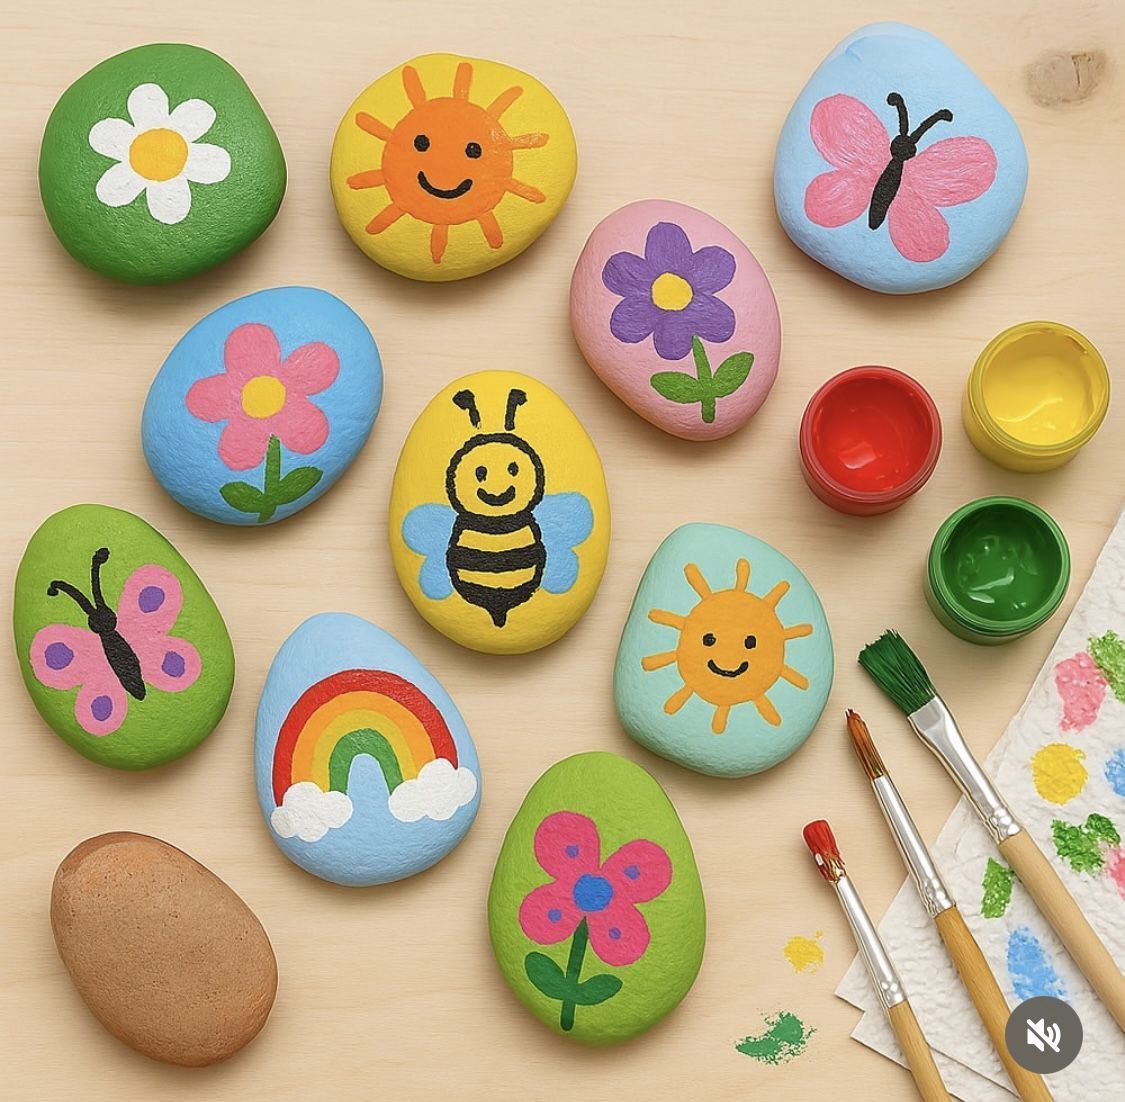
Head outside with your kids and let them pick their own rocks. This part alone is genuinely fun.
Wash the rocks and let them dry. Then set out some paint and let your children go to town. Faces, animals, patterns, words anything goes here.
Once the paint dries, seal each rock with a coat of Mod Podge to make it last. From there, you can display them in the garden, on a windowsill, or give them away as gifts.
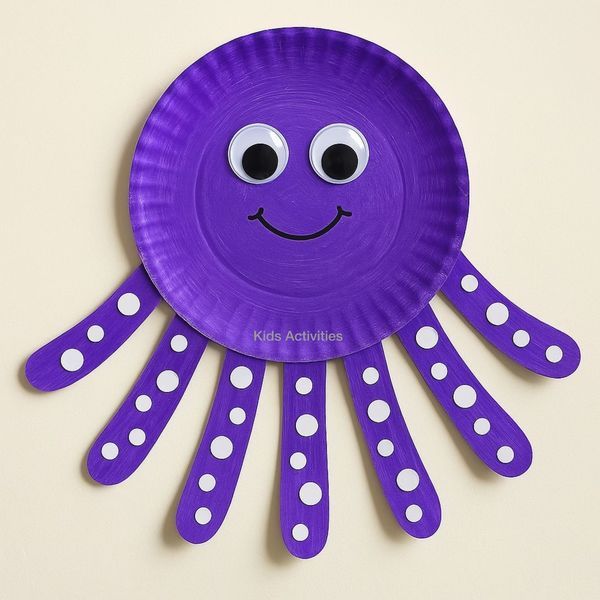
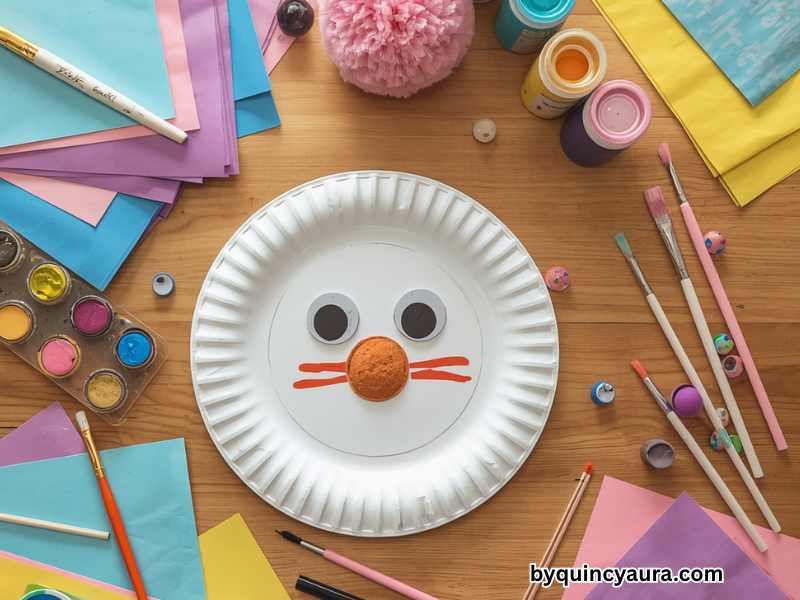
For this one, grab some paper plates, paint, construction paper, googly eyes, and glue.
Let your child paint their paper plate any color they like. While it dries, cut out ears, legs, wings, or fins from construction paper. Then let them assemble their very own creature.
The results are always hilarious and absolutely adorable. My students used to make entire zoos out of paper plates.
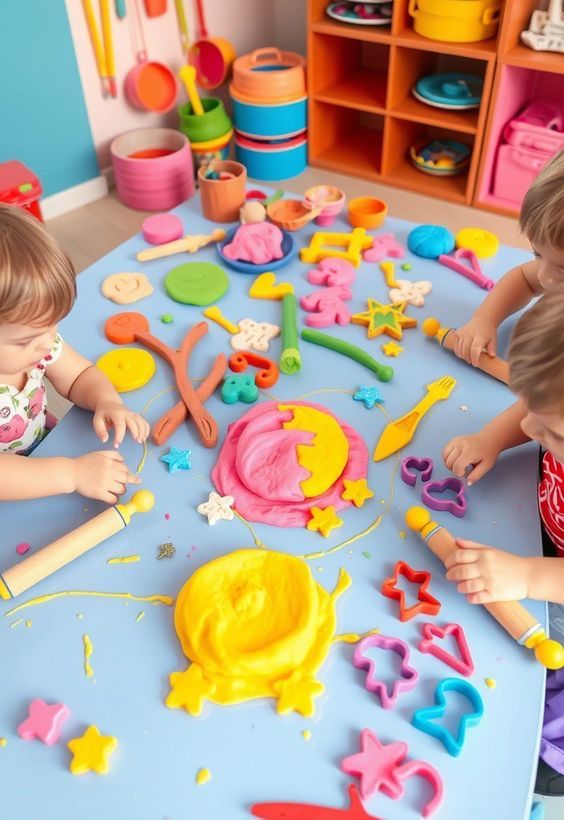
This one is less of a craft and more of a sensory activity but kids go absolutely wild for it.
Here is a simple recipe: mix two cups of flour, half a cup of salt, two tablespoons of cream of tartar, two tablespoons of oil, and one cup of boiling water. Add food coloring to the water before mixing it in. Stir it all together, knead until smooth, and you are done.
Stored in an airtight container, it lasts for weeks. Plus, making it together is genuinely half the fun.
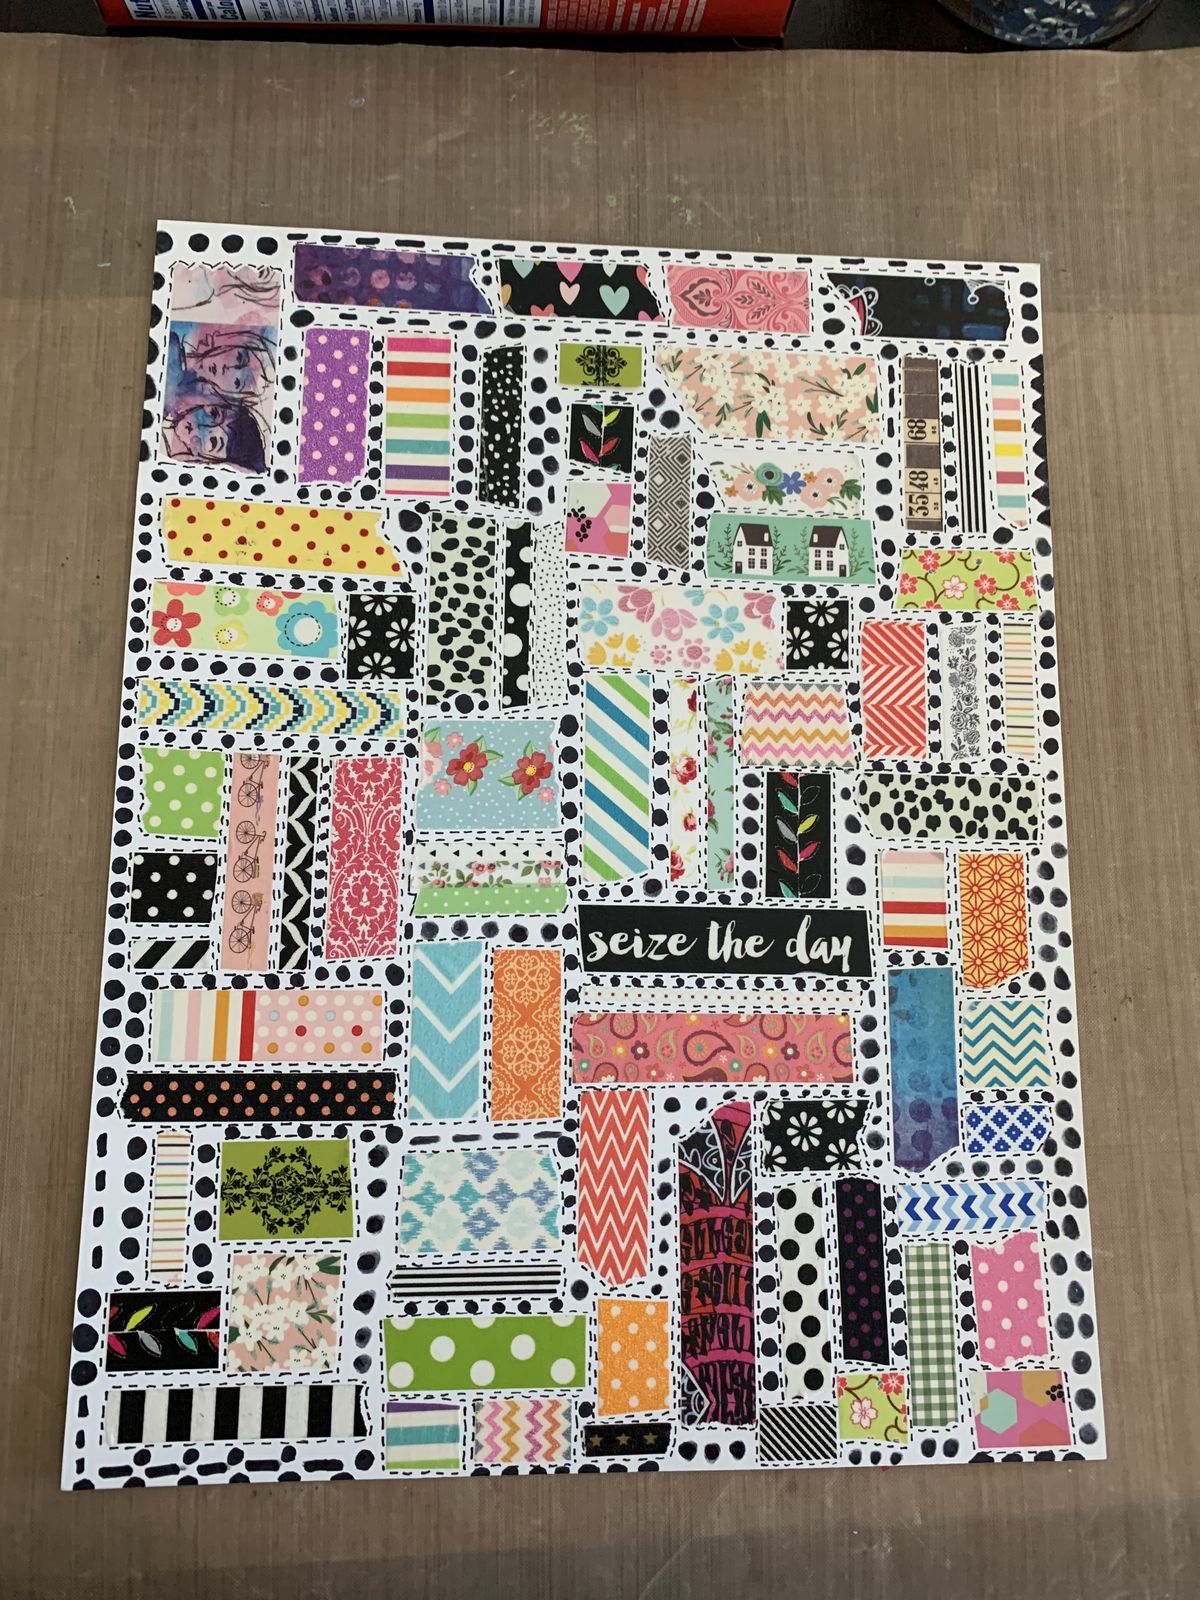
This one is perfect for toddlers and young children because it requires zero cutting and zero glue mess.
Grab a piece of cardstock and a few rolls of washi tape. Let your child tear strips and stick them onto the paper in any pattern they like diagonal lines, a rainbow, a house, random strips everywhere. None of it matters.
The finished result always looks intentional and beautiful. Frame it, hang it on the wall, and wait for the compliments to come.
How to Make Crafting a Regular Habit (Not a One-Time Thing)
Starting is the easy part. Keeping it going, however, is where most people fall off.
Pick one day a week and call it Craft Day. Put it on the calendar and let your kids know it is coming. Build a little anticipation around it.
Long sessions are not required. Even thirty minutes of dedicated craft time once a week will make a real difference in your child’s development and in your relationship with them.
In my classroom, we had craft time every Friday afternoon. By Wednesday, the kids were already asking about it. That kind of excitement, I can tell you, is absolutely contagious.
Some weeks you will have the energy to do something elaborate. Other weeks, the washi tape comes out and that is perfectly fine. The goal, after all, is consistency not perfection.
Because things will go wrong.
Paint will spill. Glue will get everywhere. Someone will cut the wrong thing and a project will look nothing like the picture. At some point, a child will also have a meltdown over a mistake.
This is all completely normal. This is crafting with kids.
Something I always said to my students when things went sideways: “That is just part of the process.”
In art, there are no mistakes only happy accidents. Bob Ross, after all, said it best.
A paint spill simply needs a paper towel. Pick it up without making a big deal of it. A project that doesn’t match the picture still has something good in it, so look for that instead. When a child gets frustrated, take a breath, step back, and remind them that perfect was never the goal.
Your reaction as the adult, more than anything else, sets the tone. Staying calm keeps everyone calm. Treating messes like catastrophes, on the other hand, makes a child feel terrible just for being a kid.
So give yourself and your children the grace to get things wrong. That is, in fact, where all the best learning happens.
Let me talk directly to you for a second.
Maybe you have been reading this whole post thinking, “This sounds great, but creativity is just not my thing.”
Here is what you need to hear: creativity is not a personality trait you either have or don’t have. Rather, it is a skill. A practice. Something that grows the more you use it.
Being an artist is not a requirement for doing crafts with your kids. A Pinterest-perfect home is also not needed to make beautiful memories. Showing up, grabbing the supplies, and starting that is genuinely all it takes.
Over the years, I have met parents who swore up and down they were not creative. Yet once they gave themselves permission to try, they produced some of the most stunning projects I have ever seen. The creativity was always there. It just needed a little room to breathe.
Your children do not need a perfect craft. A present parent is worth so much more, one who is willing to get a little glitter on their shirt and laugh about it.
That is all.
Bookmark this: Easy DIY Valentine’s Gifts for Your Boyfriend
Your Action Step for Today
Here is what I want you to do right now.
Pick one project from the list above. Just one. Look around your house and see what supplies you already have. Chances are, paper and crayons are somewhere nearby and that is already enough for handprint art.
Set a date this week. Tell your child. Then do it.
Stop waiting until you have all the supplies. Stop waiting until the house is clean. Instead, just start where you are, with what you have.
Right now is ready enough.
The best craft projects are not the ones with the fanciest materials or the most complicated steps. They are simply the ones you actually do.
Years from now, when your child is grown, the paper plate animal is not what they will remember. What stays with them is sitting down together, making something side by side, and you being fully there.
That is the real craft. And you are already more than capable of making it.
Leave a Reply