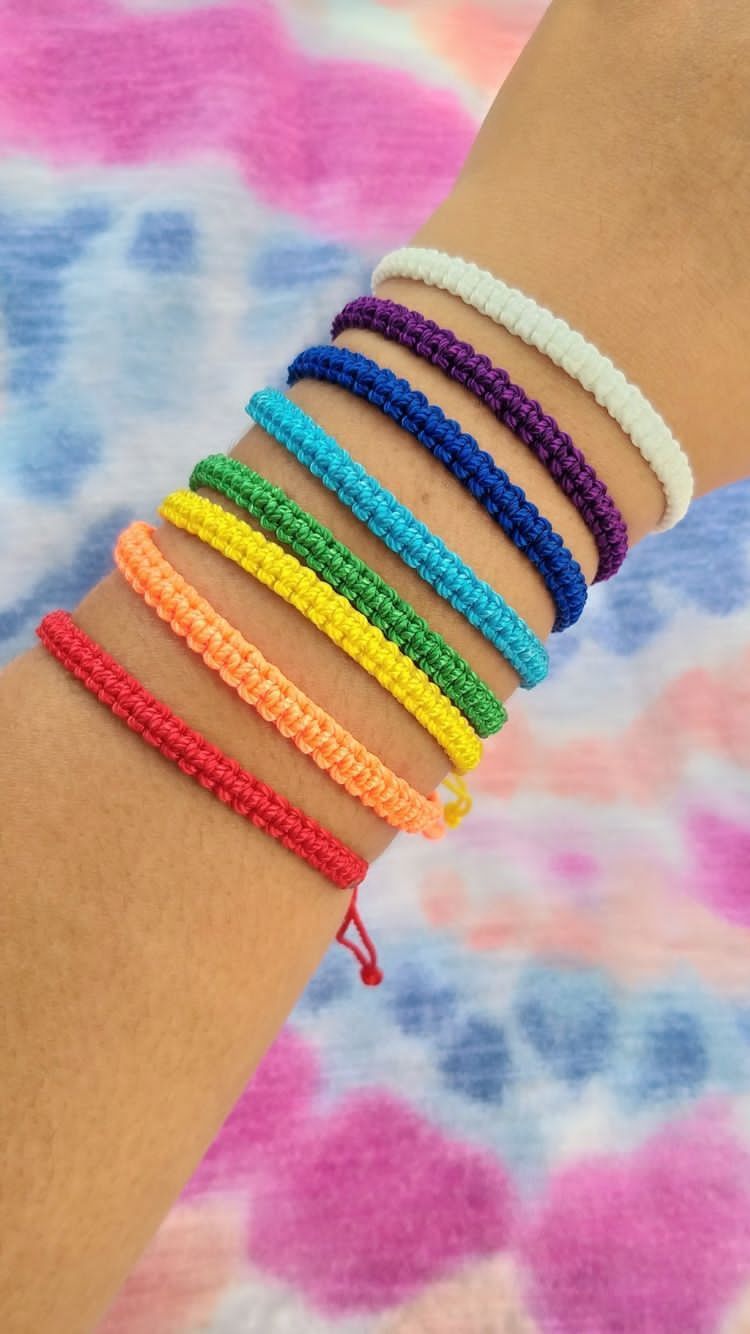
Alright, let’s talk about friendship bracelets. You know the ones……those colourful, knotted little wonders that kids have been making and trading since forever. If your daughter has been begging you to teach her how to make one (or you’ve been quietly wanting to try it yourself), today is the day.
I’ll be honest with you when I first tried to learn friendship bracelets as a kid, I gave up after ten minutes because every tutorial I found made it look way more complicated than it needed to be. So this one is the version I wish I’d had. No complicated knots, no twenty-strand chaos, no crying over tangled embroidery floss. Just a simple, beginner-friendly bracelet that actually looks beautiful when it’s done.
And if you and your daughter have already been on a crafting kick lately maybe you even tried that DIY fairy garden we talked about then this is the perfect next project to keep the creative momentum going.
Why Friendship Bracelets Are Such a Great Kids Craft
Before we get into the how, can we just appreciate what a perfect craft this actually is for kids?
Friendship bracelets are portable, which means you can make them on the couch, in the car, at the kitchen table, or even outside in the garden. They’re inexpensive a pack of embroidery floss costs next to nothing. They’re genuinely useful, because the finished product is something your child can wear, gift, or trade with a friend. And they build real skills: pattern recognition, hand-eye coordination, patience, and focus.
As a teacher, I’ve seen firsthand how much kids light up when a craft produces something they can actually use and show off. There’s something about wearing something you made yourself that hits differently. It builds confidence in a quiet but very real way.
Save this guide: A Step-by-Step Guide to Making Air Dry Clay Bowls With Your Kids
What You’ll Need
This is a beautifully short supply list, which is one of the reasons I love this project so much.
You’ll need embroidery floss in two or three colours pick colours your child loves because she’s going to be staring at them for a while! You’ll also need a pair of scissors, a piece of tape or a safety pin to anchor your bracelet while you work, and your fingers. That’s genuinely it.
For younger kids, thicker yarn can be easier to handle than embroidery floss since it’s chunkier and easier to grip. Either works perfectly for this tutorial.
If you’re building up a little stash of craft supplies at home so you’re always ready for projects like this, A Parent’s Guide to Starting a Mini Craft Corner for Your Kids at Home is such a helpful read, it covers exactly what to keep on hand without going overboard.
Setting Up Before You Start
A little setup makes the whole process so much smoother, trust me.
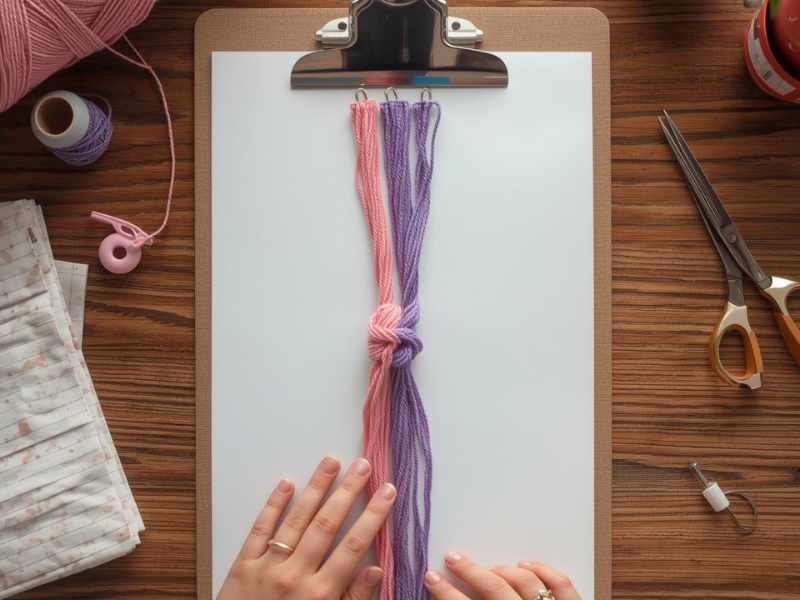
Cut three strands of embroidery floss, each about 60cm long. If you’re using two colours, cut two strands of one colour and one of the other that creates a lovely dominant colour with a contrasting accent running through it. Knot all three strands together at the top, leaving about 5cm of tail above the knot.
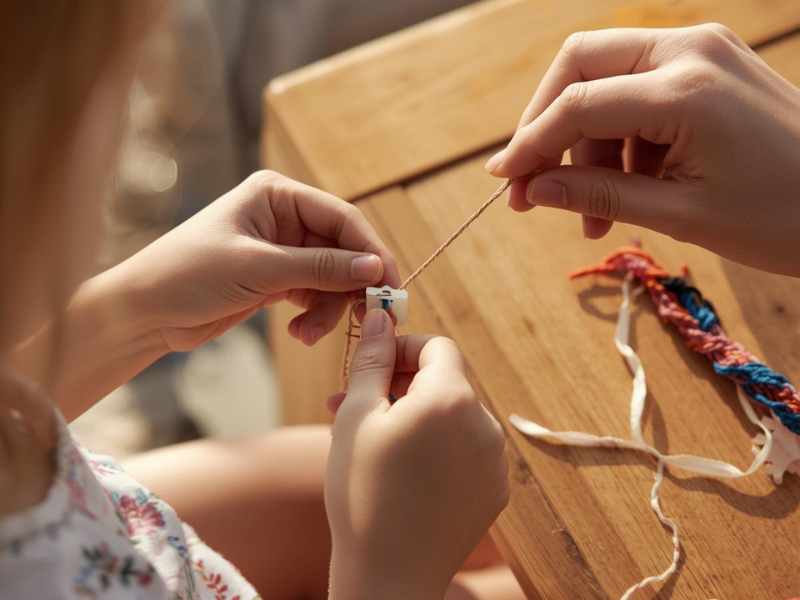
Now anchor your work. The easiest way is to tape the knotted end to a flat surface like a table, a clipboard, or even your knee works. A safety pin through the knot and into a pillow or cushion is another great option. The key is that your bracelet stays still while your hands do the knotting, because trying to hold it and knot at the same time is where most beginners get frustrated.
Spread the three strands out so they’re not tangled, and you’re ready to go.
Pin this: How to Create a Mini Herb Garden Planter Craft With Kids
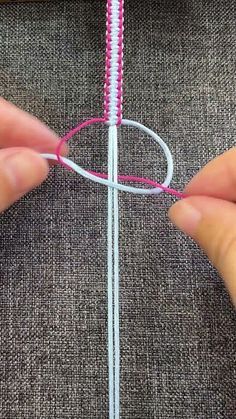
Step One: The Basic Forward Knot
Here’s the only knot you need to know for this bracelet, and once your child gets it, she’ll be flying.
Take the left strand and cross it over the middle strand, making a shape like the number four. Then tuck the left strand under the middle strand and pull it up through the loop you just made. Pull it gently upward toward the knot at the top. That’s one half of the knot. Do it again same strand, same motion and pull upward again. That’s one complete forward knot.
Now your left strand has moved to the middle position. Take what is now your new left strand and repeat the same two-step motion onto the new middle strand.
Keep going across, always working left to right, always doing the knot twice before moving to the next strand.
I know it sounds like a lot written out, but after three or four rows your hands just start to know what to do. It’s one of those things that clicks suddenly and then feels completely natural.
Step Two: Finding a Rhythm
Once your child has done a few rows and the pattern starts to show, something lovely happens she relaxes into it. The repetitive motion of knotting is actually quite calming, almost meditative, and kids often get surprisingly focused once they find their rhythm.
This is a great time to just sit alongside her and chat. Talk about who she might give the bracelet to. Talk about what colours mean to her. Let the conversation wander wherever it goes. Some of the best conversations I’ve ever had with kids have happened during repetitive craft activities, when hands are busy and there’s no pressure to make eye contact or perform.
Keep encouraging her to pull each knot upward firmly so the rows sit neatly against each other. Loose knots are the main thing that makes beginner bracelets look uneven, and a gentle reminder to “pull it up nice and snug” goes a long way.
Step Three: Adding a Second Colour Pattern
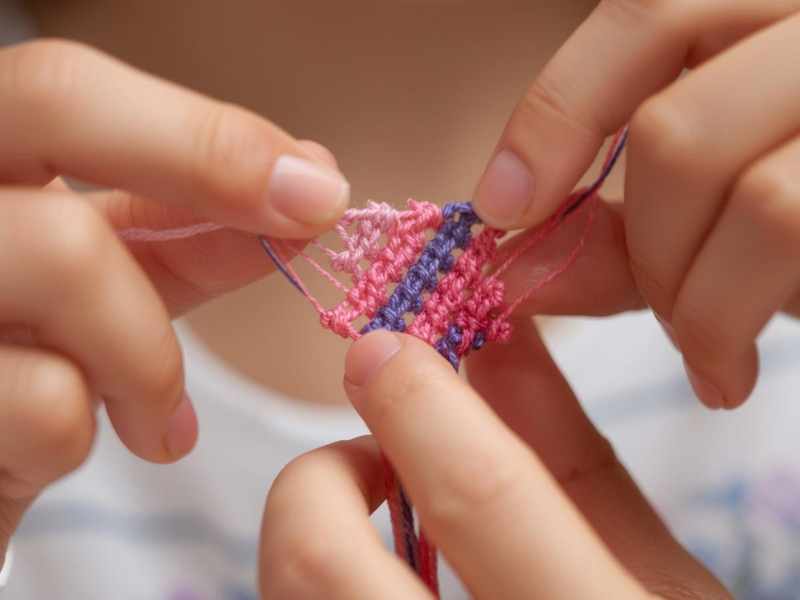
Once she’s comfortable with the basic forward knot maybe after her first bracelet you can introduce a simple stripe pattern, which is where things start to look really impressive for very little extra effort.
Use three strands in alternating colours like pink, purple, pink. The forward knot naturally creates diagonal stripes as the colours rotate through positions. You don’t have to do anything differently; the pattern just emerges on its own as you work across the strands.
If she wants to try something with more colour variety, you can move up to four or five strands. The technique stays exactly the same you’re just working across more strands per row. Four strands gives you a slightly wider bracelet with a bolder stripe pattern, and it’s still very manageable for kids who’ve got the basic knot down.
This is also a great moment to bring in some colour mixing creativity. If you’ve ever done How to Do Easy Block Printing With Kids Using Sponges and Foam together, she already has a good eye for how colours work next to each other that instinct translates beautifully to choosing floss colours for bracelets.
Step Four: Finishing the Bracelet
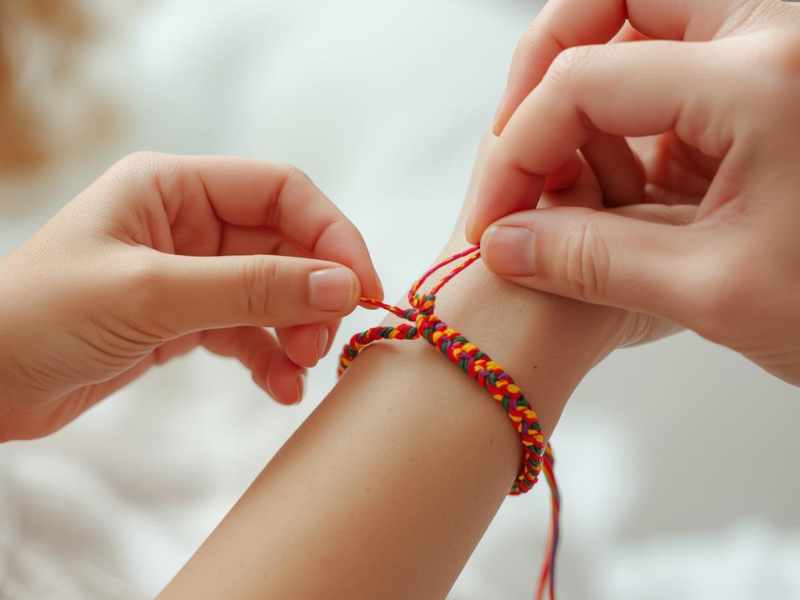
You’ll know you’re done when the knotted section is long enough to wrap around your child’s wrist with a little room to spare usually about 14–16cm for a child’s wrist, though it varies.
Knot all three strands together firmly at the end, just like you did at the beginning. Leave about 5cm of tail below this final knot.
To fasten the bracelet, braid the tail ends into tiny simple braids (just three strands, over and over) and then tie the two ends together around the wrist. Or for a quicker option, simply tie the tail ends in a bow. The beginning knot and the end knot give you two anchor points, and the tails tie together to keep it on.
Check this out: How to Turn Old Crayons Into New Ones Using a Muffin Tin
Make It a Gifting Tradition
Here’s what makes friendship bracelets extra special they’re meant to be given away. Once your daughter has the hang of it, encourage her to make one for her best friend, her teacher, her grandma, a cousin she hasn’t seen in a while.
There’s something so lovely about a handmade gift from a child. It says “I spent time on this for you” in a way that nothing store-bought can. And kids feel that too the pride of handing over something they made with their own hands is priceless.
You could even set up a little bracelet-making station and invite a friend or two over to make them together. Pair it with some snacks, put on a playlist, and you’ve got the most wholesome Saturday afternoon imaginable.
Keep the Crafting Streak Going
Once your child discovers she can make something beautiful with just a bit of string and her fingers, there’s usually no stopping her. That creative confidence is such a gift, and the best thing you can do is keep feeding it with new projects.
If she’s never worked with clay before, that’s a brilliant next step 20 Fun Air Dry Clay Crafts for Kids has so many ideas that pair beautifully with the kind of fine motor confidence she’s been building through bracelet making.
And if you’re looking to make crafting a regular weekend ritual rather than a once-in-a-while thing, that’s honestly one of the best decisions you can make. The time you spend creating together whether it’s bracelets, fairy gardens, clay, or whatever comes next adds up to something really meaningful.
You’ve Got This
If your daughter is nervous about trying, remind her that every single person who makes friendship bracelets started exactly where she is right now staring at a few strands of floss and wondering how on earth it’s supposed to work.
The knot is simple. The rhythm comes quickly. And the moment she holds up her finished bracelet and sees what her own hands just made? That look on her face is worth every single tangled strand along the way.
So grab the floss, find a sunny spot, and make some bracelets together. You might just find that you love it as much as she does.
Leave a Reply